Welcome to SteadyPoint Malaf Archiving! Malaf is Office 365’s finest archiving add-in, designed with Archiving best practice in mind, and this tutorial will walk you through how you can best put Malaf to meet your business needs.
Archiving is the process of putting away documents you’re not imminently using for long-term storage. Malaf relies on cloud archiving on Office 365 as it’s storage destination.
Business Example: Accounting Department
“So how could I use Malaf to serve my requirements?” might be a question that you’re thinking of, and we’re here to help you.
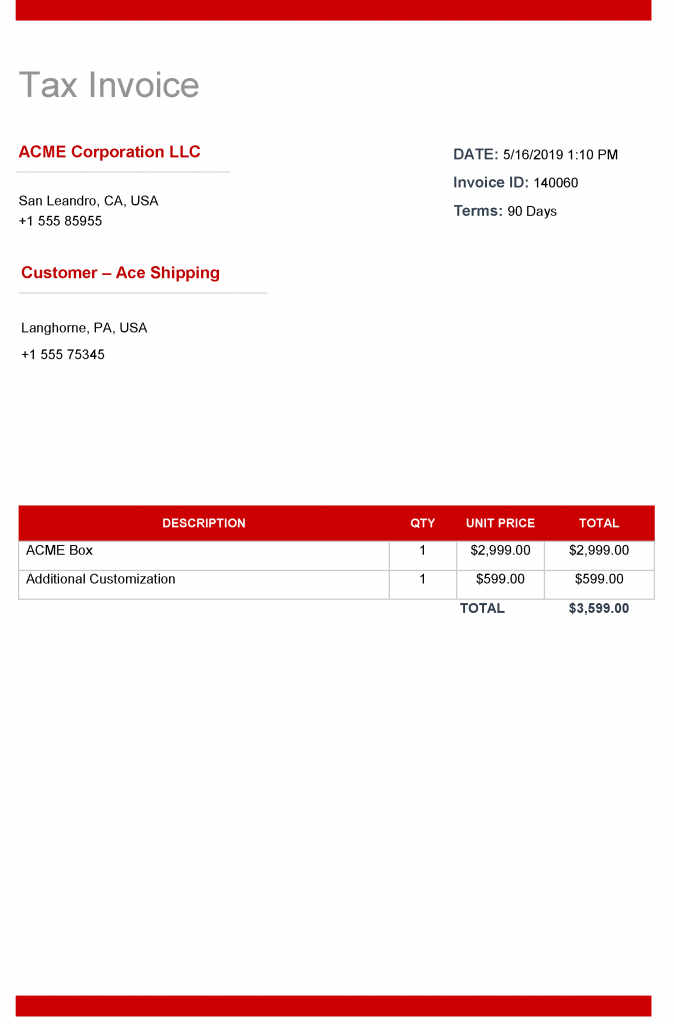
Imagine you’re an accounting department, with invoices coming in and going out every day. The paperwork has become a hassle as of late, so you want to archive it, possibly share it with others if they ask for it, and retrieve it when necessary. We’ll be using an empty invoice at first as a template for Section A, Part 2. Then we’ll upload our documents, and use this invoice from our customer, Ace Shipping, as our example.
This tutorial will cover the following:
A. The scanning process in Malaf
B. Sharing files with other users
C. Retrieving your files
Ready to get going? Well let’s get started then!
A. The Scanning Process
1. Connecting to the document library
So you’ve booted up Malaf, now what?
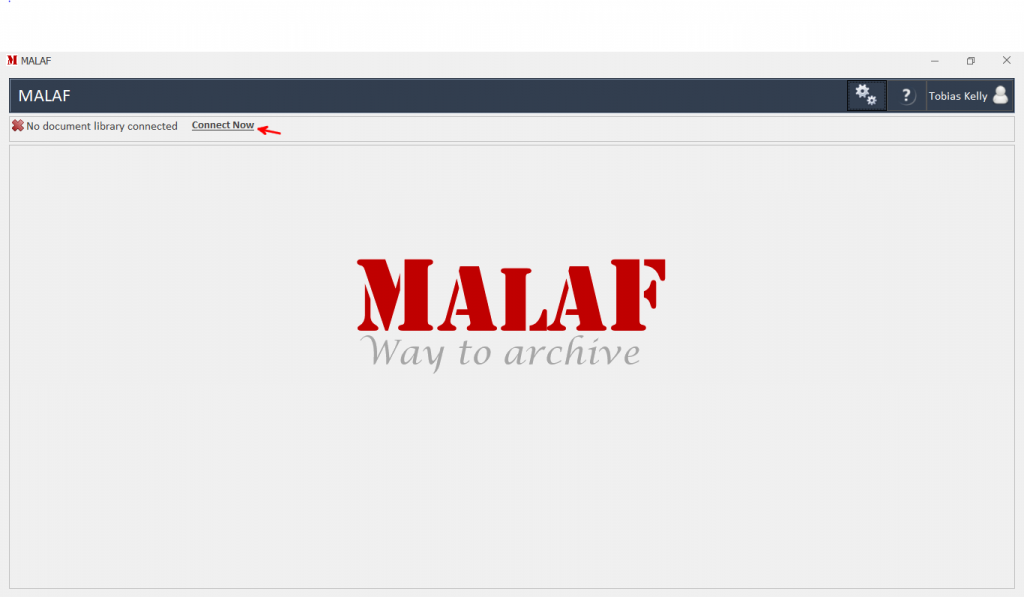
1. We start by adding the appropriate document library you want to archive files in. First things first, click on Connect Now.
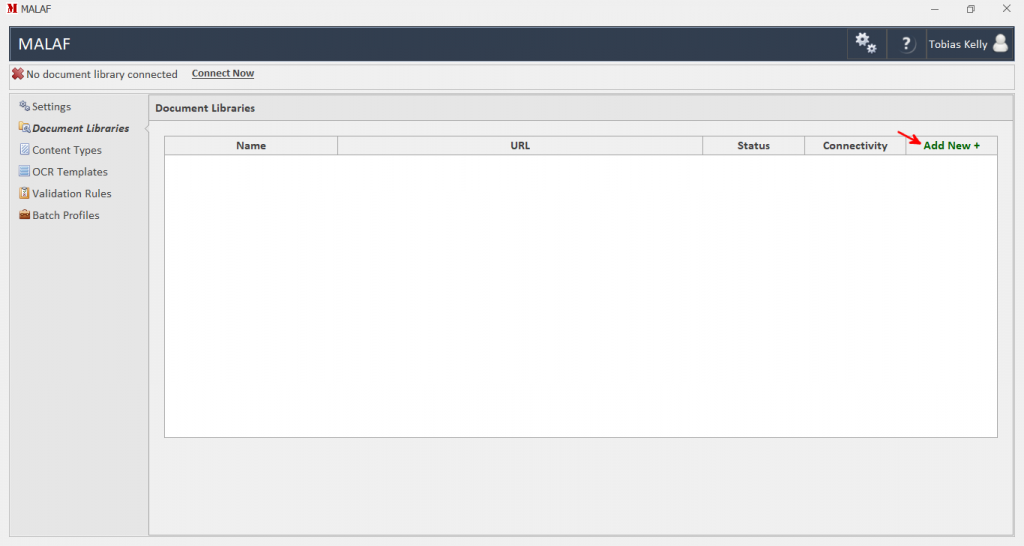
2. You need to add that document library, so click on Add New.
3. In the list that populates, select the appropriate document library. We’ll be using ArchiveTestingGround for today.

4. If the process is successful, you should get a message saying so.
5. Time to connect to our document library, click on Connect
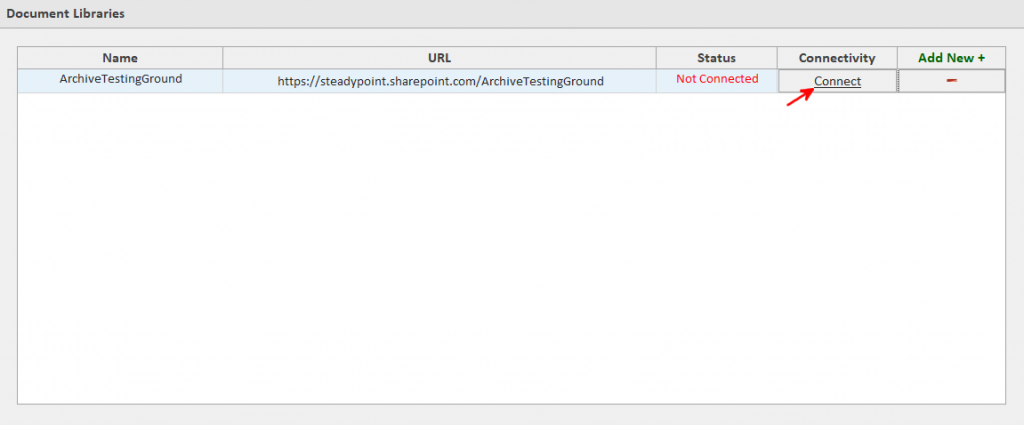
And you’re plugged into the matrix!
2. Setting up your scanner
I think it’s fair to assume a scanner is necessary for a scanning process, so lets plug your scanner into Malaf.
1. Click on the settings gadget wheel on the upper right corner.

2. Switch to the tab Scanner settings
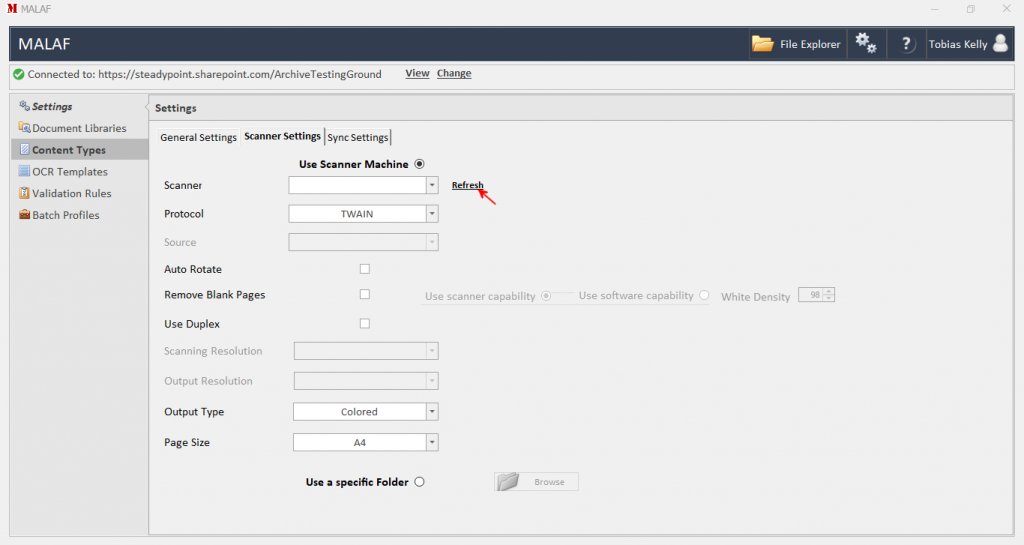
3. Click the radio box Use Scanner Machine, seen in figure 8.
4. Just hit refresh in order to import the scanner you want use for this tutorial. Malaf supports both TWAIN and WIA protocols (TWAIN is the more common of the two). Then from the drop down menu next to refresh, select your scanner. If Malaf can’t detect your scanner, click here.
3. OCR Templates
Malaf uses OCR technology in order to identify what is actually written on the paper you’re trying to scan. But to use the OCR engine, you first have to feed Malaf an OCR template that will be used later on.
With our accounting department, we need to extract data from 7 main fields: Customer Name, Customer Location, Customer Phone Number, Date, Invoice ID, Product Name and Total Price.
1. To set up the OCR template, click on OCR Templates.

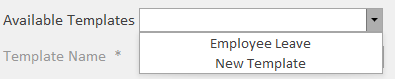
2. Under Available templates, click on the drop down menu and select New Template.
3. Malaf will scan your template, and will upload it for you to select the fields. For every metadata field you want the OCR to scan, click on the little grid to the right of it’s name, then place the box that appears to the location that the corresponding text will appear to.
So in our case, we click on the grid next to Invoice, the box appears, we drag it and place it in location where Invoice ID will be on our form.
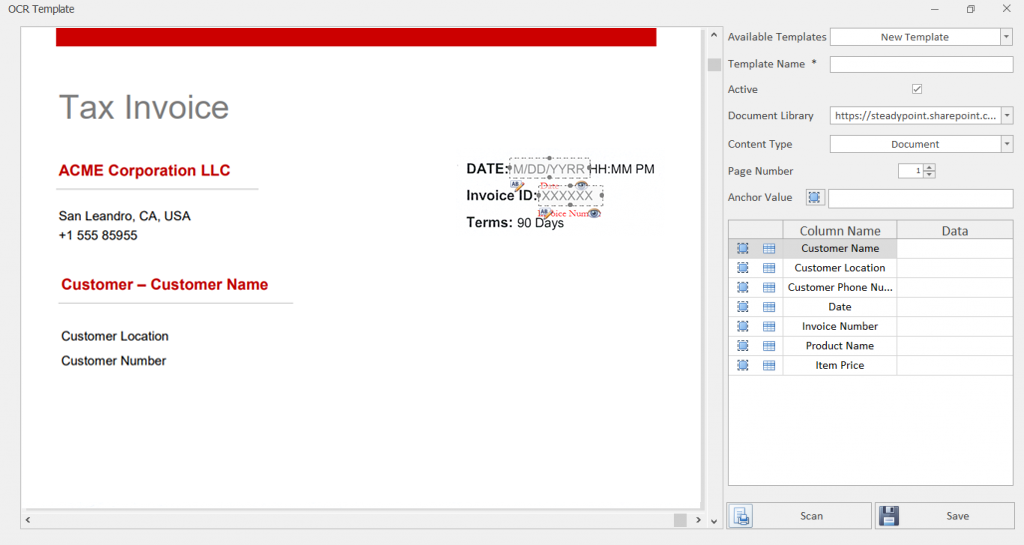
4. When done, click save.
5. Now you need to go back to Settings, and under the tab General Settings click on Enable OCR.

4. Validation Rules (Optional)
If you need to verify particular fields that are getting scanned by the OCR before they’re synced, you can do so by clicking on Validation Rules. The point of Validation rules is to ensure that required fields are getting scanned correctly.
With our accounting department, the Invoice ID is always a 6 digit number, so we need to ensure the correct Invoice number before it is uploaded.
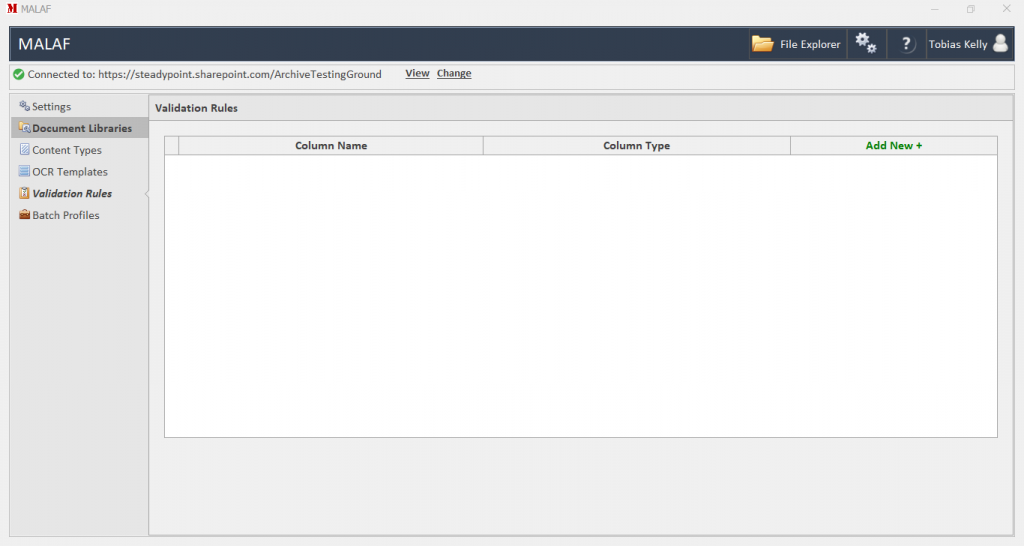
1. Start by going to Validation Rules on the left side of your dashboard.

2. This is the list of the validation options, which is empty, so we’re going to add something! Click on Add New.
3. First, select the Content Type you want to pick the meta data from (if you have more than one content type) and select the column you want to apply a rule on. To make the rule active, check the box next to Active.
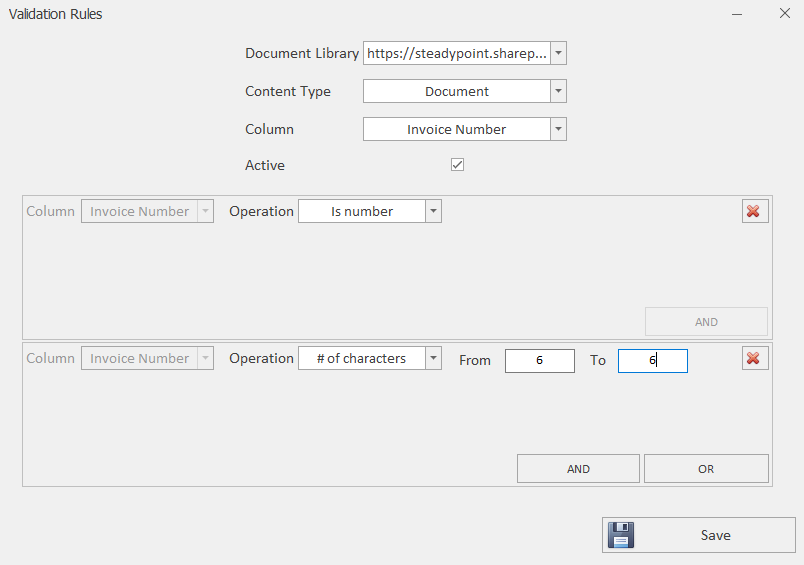
4. You have a plethora of different operations you can use, including combinations such as AND and OR to combine multiple rules in one. Our rule states that the field Name Invoice ID is a number AND must contain 6 digits, otherwise the sync won’t go through.
5. When you’re done, click Save to save the rule.
5. Let’s Scan!
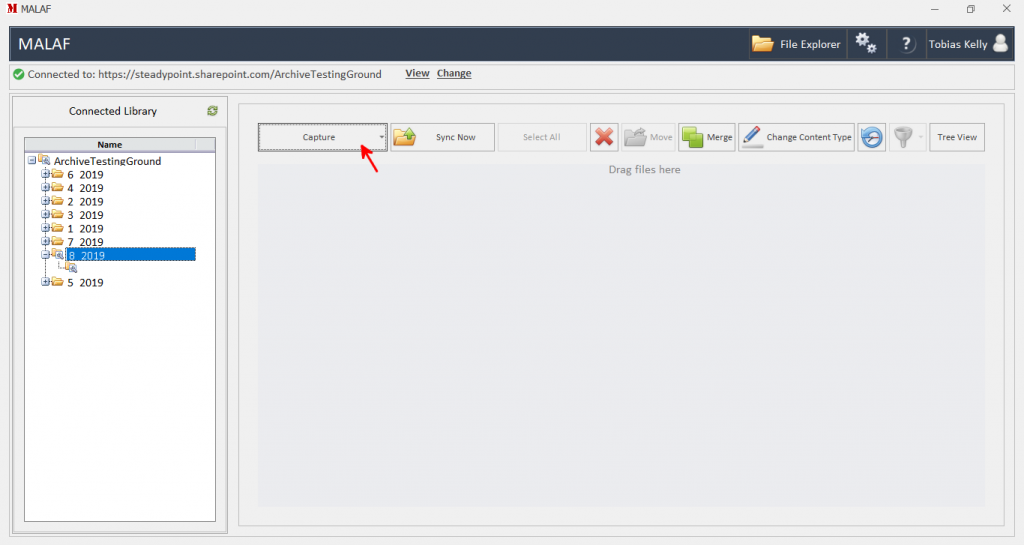
1. Start by pressing on Capture and select Scan.
2. Once your scan goes through, the files should appear in the File Explorer like this.
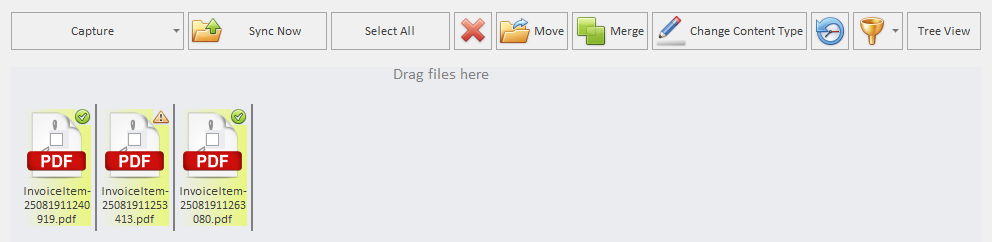
3. The files with the little green check mark on them are good to go, but the 2nd file has a warning sign, that means that certain metadata was not scanned properly. Double click on the file to open it.
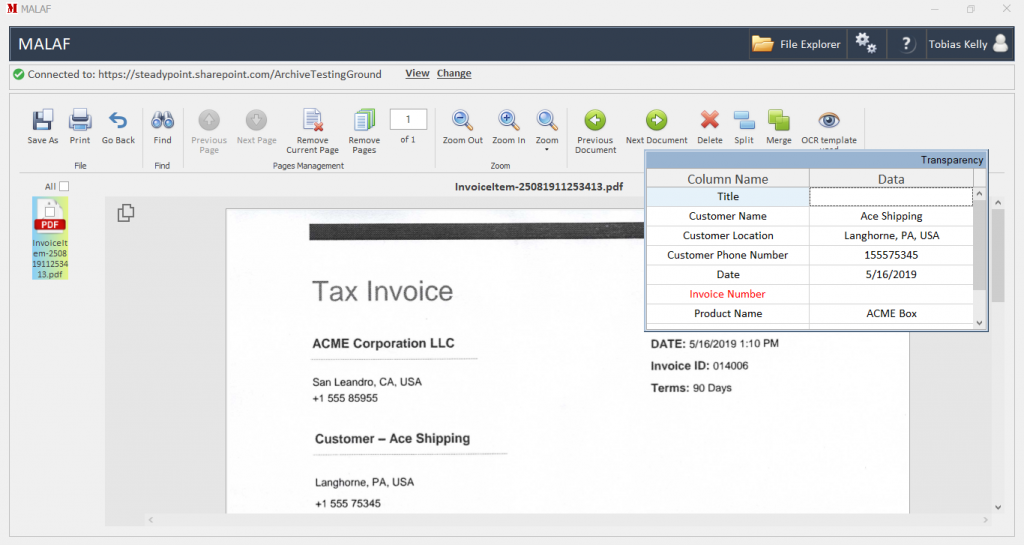
4. This is the file we scanned, as you can see in the floating box, Invoice Number is in red, that means the system didn’t scan them properly. You can manually change them by double clicking the empty field to the right, once the proper date goes through, the color of the field label changes to black. Press on Go Back on the upper left corner.
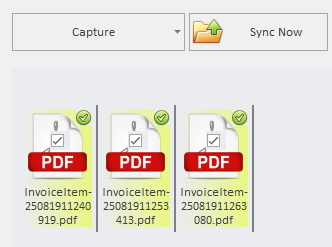
5. Now that all the files have green checkmarks, they’re good to go. Check the box in the middle of each file you want to upload, and press on Sync Now.
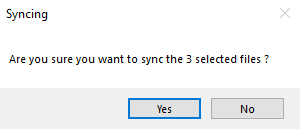
6. You will get this prompt, click on yes to begin the process.
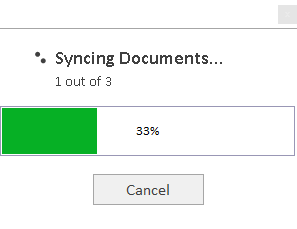
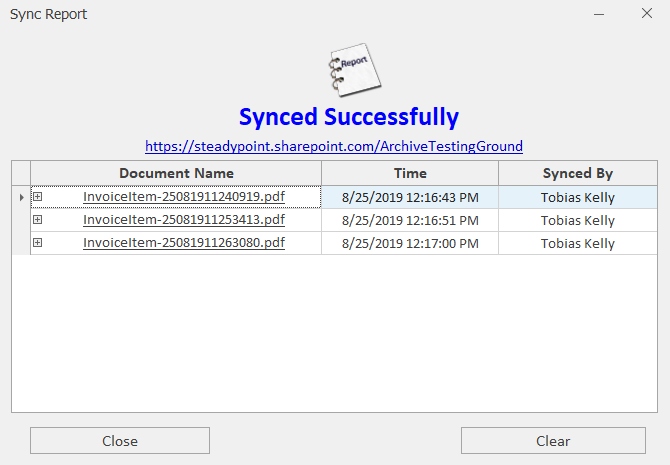
7. This is what it will look like as its uploading. Once it finishes the sync this is the screen you’re going to get.
B. Sharing files with other users
1. To share the files with other users, first navigate to the document library, either by clicking on the URL in the Sync Report or on Malaf’s main menu.
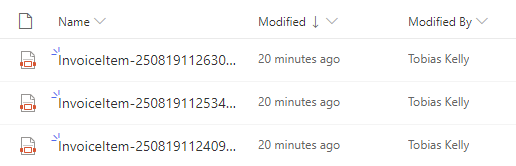
2. You will find the files in a folder under your name. These are the 3 files we uploaded.
3. Click on the Share icon that the red arrow points to.

4. In order to send the link, you can either enter the name/email address of the person (or people) you want to share the file with. Alternatively, you can copy the link or send it via outlook.
5. If you want to change the permissions on the file first, click on People with existing access can use the link (the bit at the top, the default value be different depending on SharePoint permissions).
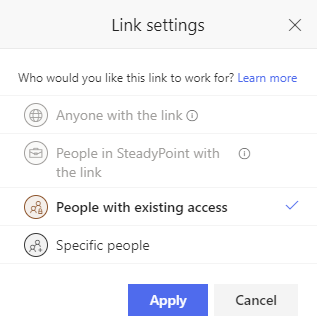
6. Depending on your SharePoint permissions, you will have certain options greyed out. Pick the option that suits you best and click on apply.

7. Click on send when you’re done.
C. Retrieving your files
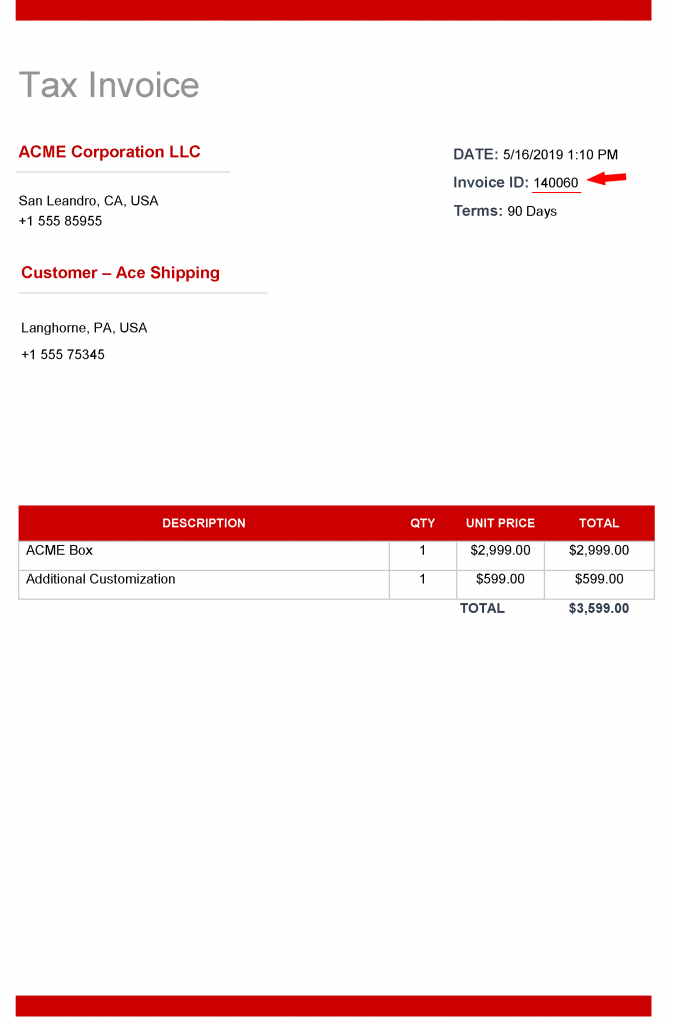
One option for file retrieval involves the ability to search through metadata. We’re going to look for one of the files we uploaded to SharePoint in part A by searching by the Invoice Number metadata.
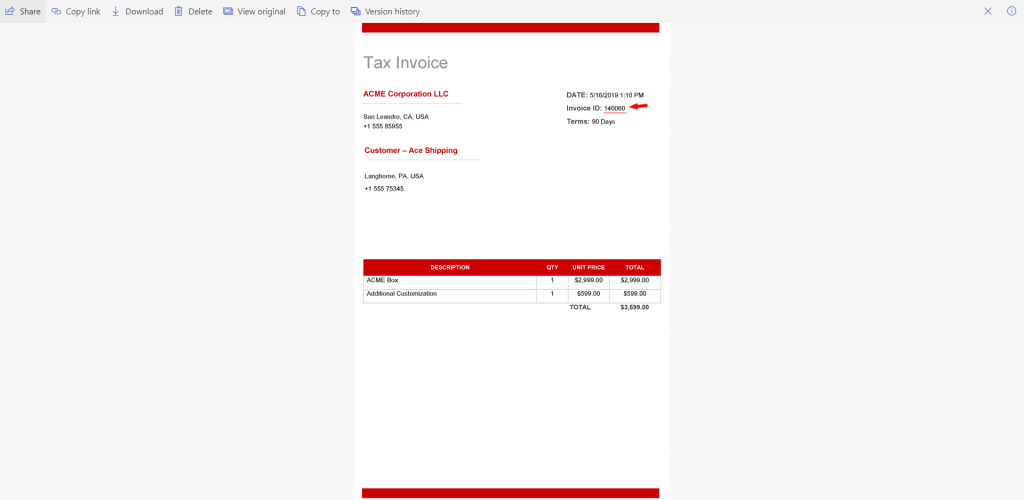
This is one of the files we uploaded earlier, as you can see, our customer invoice ID140060 is the metadata item we’re going to look for:
1. Start by going to the document library where you synced the files, and clicking on the search bar.

2. We’re going to search for one of the items we uploaded by customer name, and to do so we type the name of our customer, Ace Shipping into the search bar and click enter.

3. As you can see, SharePoint retrieves the file(s) with this customer Invoice ID as its metadata.

4. If you open this document, you can see that it’s the same file