Creating your Workflow
You can design your workflow to collect information from different stakeholders and undertake routing to request for action. Raising a requested ticket could be assigned to a user or group.
This article illustrates the stages of the workflow process:
New → Accepted / Rejected → Closed
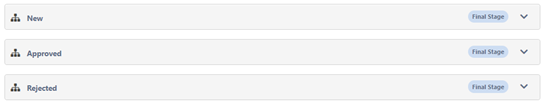
1) Add 3 Stages
- New
- Accepted
- Rejected
Add extra stages if you wish
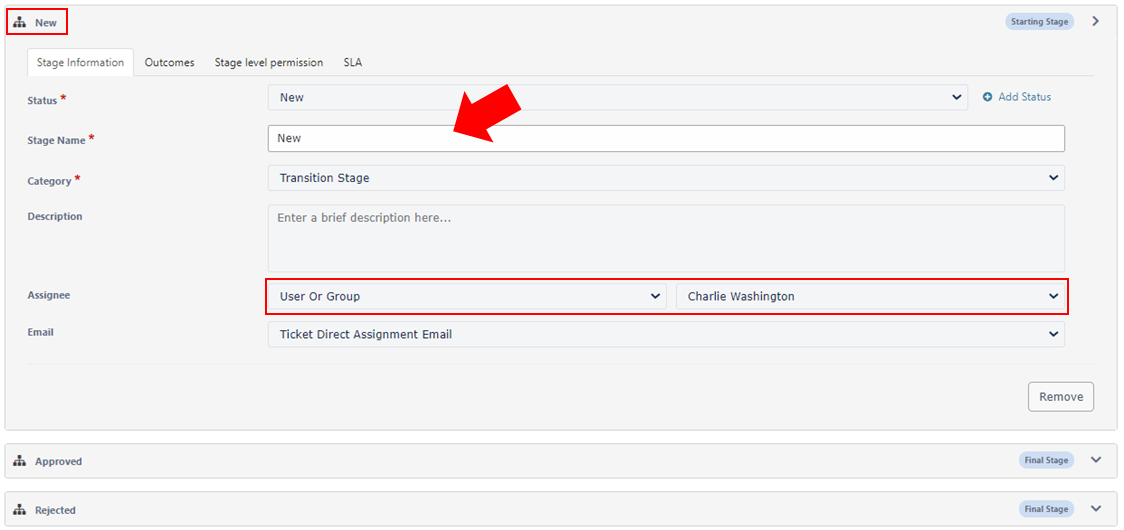
2) Edit “New” Stage
Add Stage Information;
- Status: New
- Stage Name: New
- Assignee (User or Group): Select a person or group that is best suited to make this decision.
- Category: Transition Stage
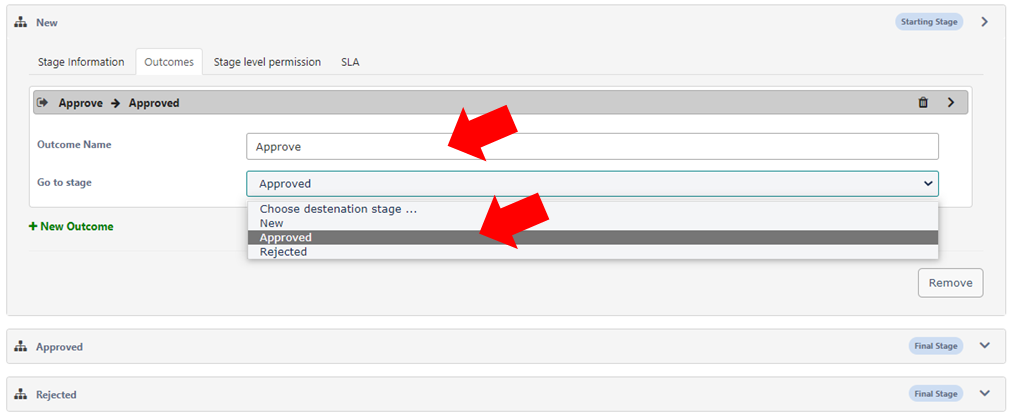
Add Outcomes;
- Outcome Name
- Go to Stage: Select the Stage this action will go to

Outcome 1
- Outcome Name : Approved
- Go to Stage: Approved
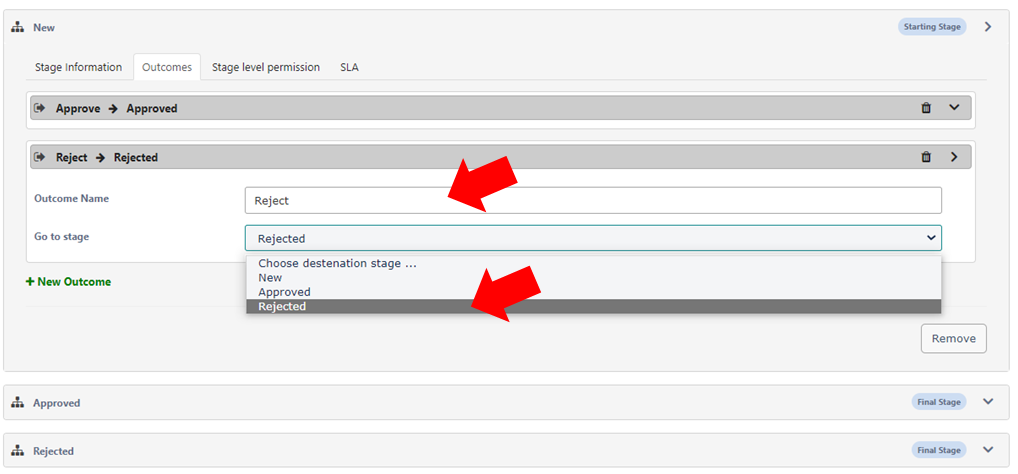
Outcome 2
- Outcome Name : Rejected
- Go to Stage: Rejected
3) Edit “Approved” Stage
Add Stage Information;
- Status: Approved
- Stage Name: Approved
- Assignee (User or Group): Select a person or group that is best suited to make this decision.
- Category: Transition Stage
For example:
- Outcome / Status 1: “Approved”

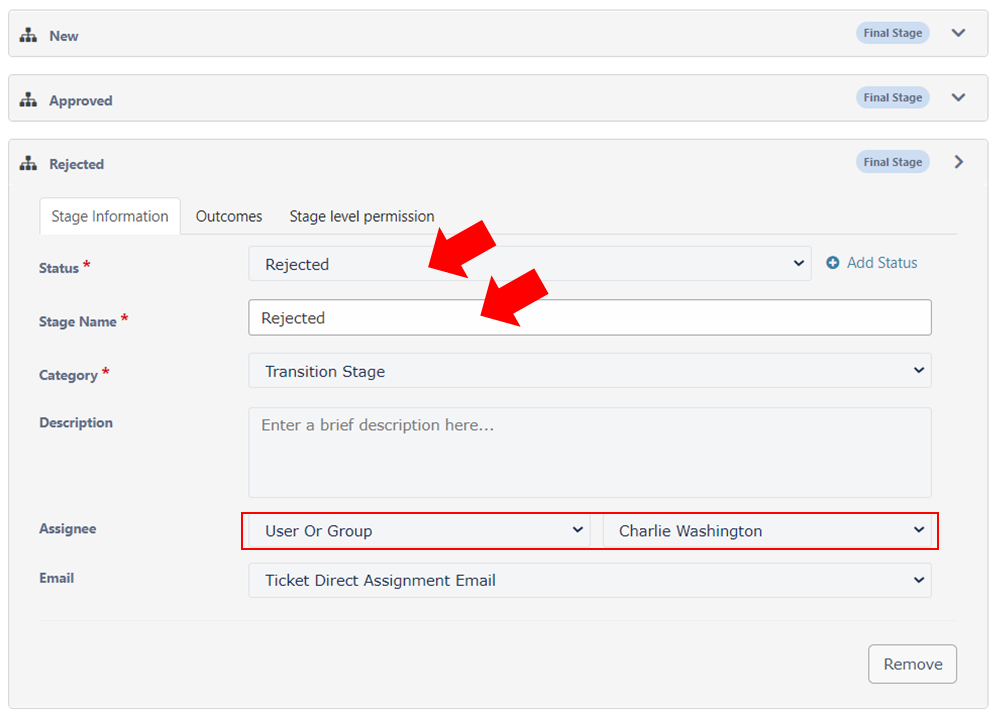
4) Edit “Rejected” Stage
Add Stage Information;
- Status: Rejected
- Stage Name: Rejected
- Assignee (User or Group): Select a person or group that is best suited to make this decision.
- Category: Transition Stage
For example:
- Outcome / Status 2: “Rejected”
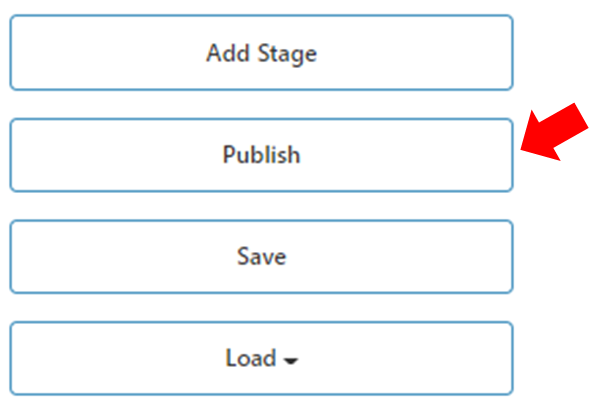
Once the stages are completed,
5) Publish and try it out!
After receiving a ticket, this is what it should look like
