The calendar in our SteadyPoint SharePoint helpdesk is a crucial feature, ensuring that SLAs and reminders are sent at the right time. In this blog, we will guide you through the process of setting up this feature.
Never miss a deadline again.
👉 Start your 30-day free trial of SteadyPoint Helpdesk and experience smart calendar automation in action.
Table of Contents
Editing the Default Calendar in SteadyPoint Office 365 Ticketing system
1. Start off by going to the Settings > Data Management > Calendar
2. You will find the default working calendar, which can be edited by clicking on the little pen button to the right of the word default
Creating a New Calendar in SteadyPoint SharePoint-based Helpdesk
- To create new calendars, click on Create a new calendar
- The calendar creation screen should show up. When you are finished creating your calendar, click on save.
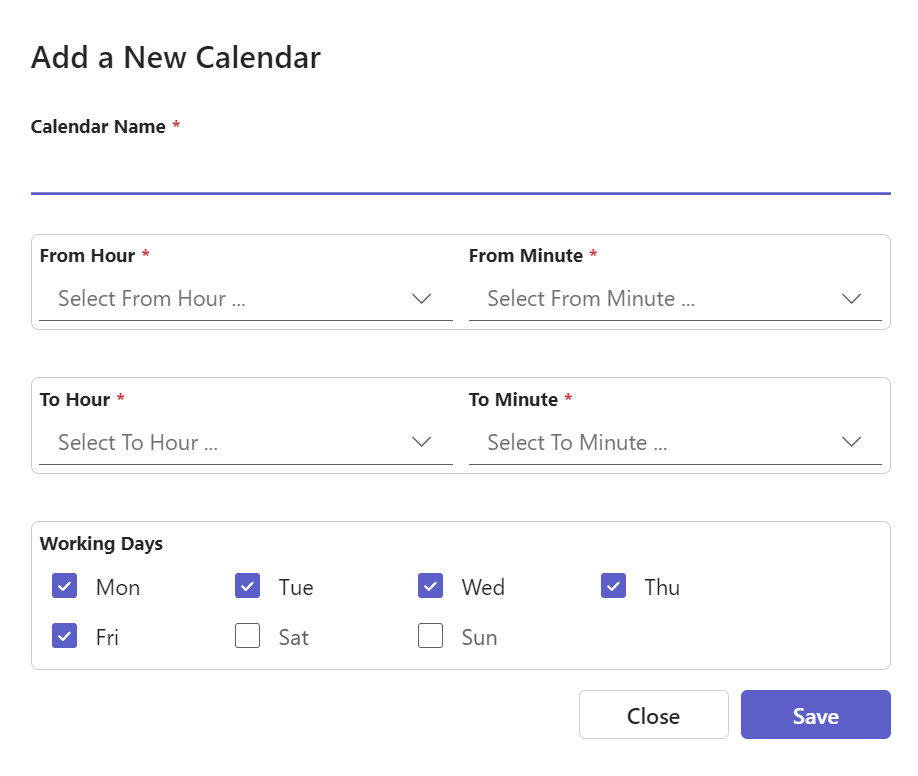
- Calendar Name: Name of the calendar.
- From Hours: The start of the work shift for this calendar (in hours). Note: Helpdesk Calendars use the 24-hour clock as its format.
- From Minutes: The start of the work shift for this calendar (in minutes).
- To Hours: The end of the work shift for this calendar (in hours). Note: Helpdesk Calendars use the 24-hour clock as its format.
- To Minutes: The end of the work shift for this calendar (in minutes).
- Checkboxes: The days checked will be used as the week days/working days for this calendar.
Assigning a Custom Calendar to a Helpdesk User
An admin can assign a custom calendar to a helpdesk user by following these steps:
- Click on Add a New User.
- Enter the user’s name, select the custom calendar, and click Save.
This will add the user to the list, and they will no longer follow the default calendar. The assigned custom calendar’s schedule will apply to them.