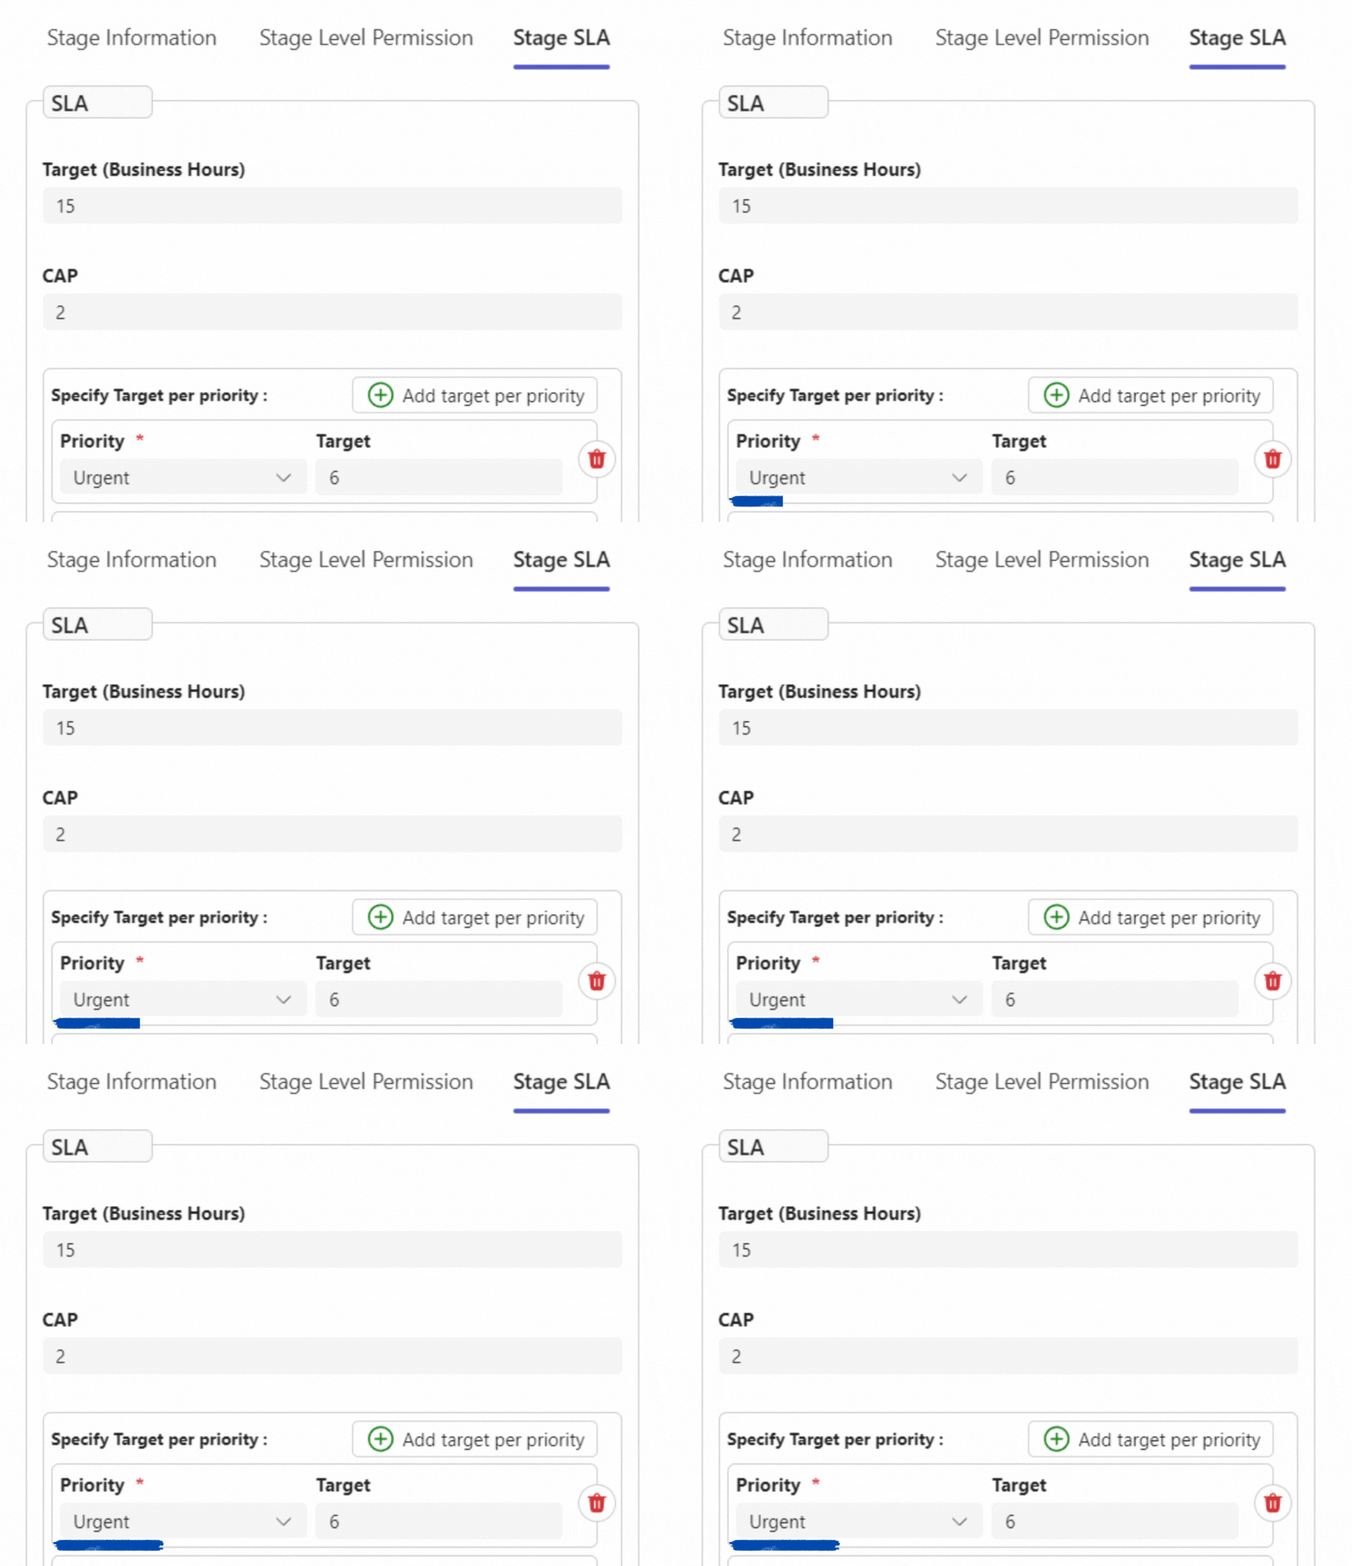
In our SharePoint Helpdesk, an Escalation is a reminder email sent to the assignee and copying their manager (as defined in the Active Directory). The escalation procedure starts once the defined SLA is breached. Escalations continue up the organizational hierarchy (as defined in the Active Directory) from one manager to the next until the top of the hierarchy is reached or the defined CAP for this escalation is met. In the case of a Resource Pool ticket, the CC’ed manager will be the manager of the team instead.
What constitutes an SLA breach?
- Ticket Response time elapses.
- Ticket Fix time elapses.
Table of Contents
Creating a new Escalation in SteadyPoint Office 365 Ticketing System
In the following steps, we will discuss how to add an SLA.
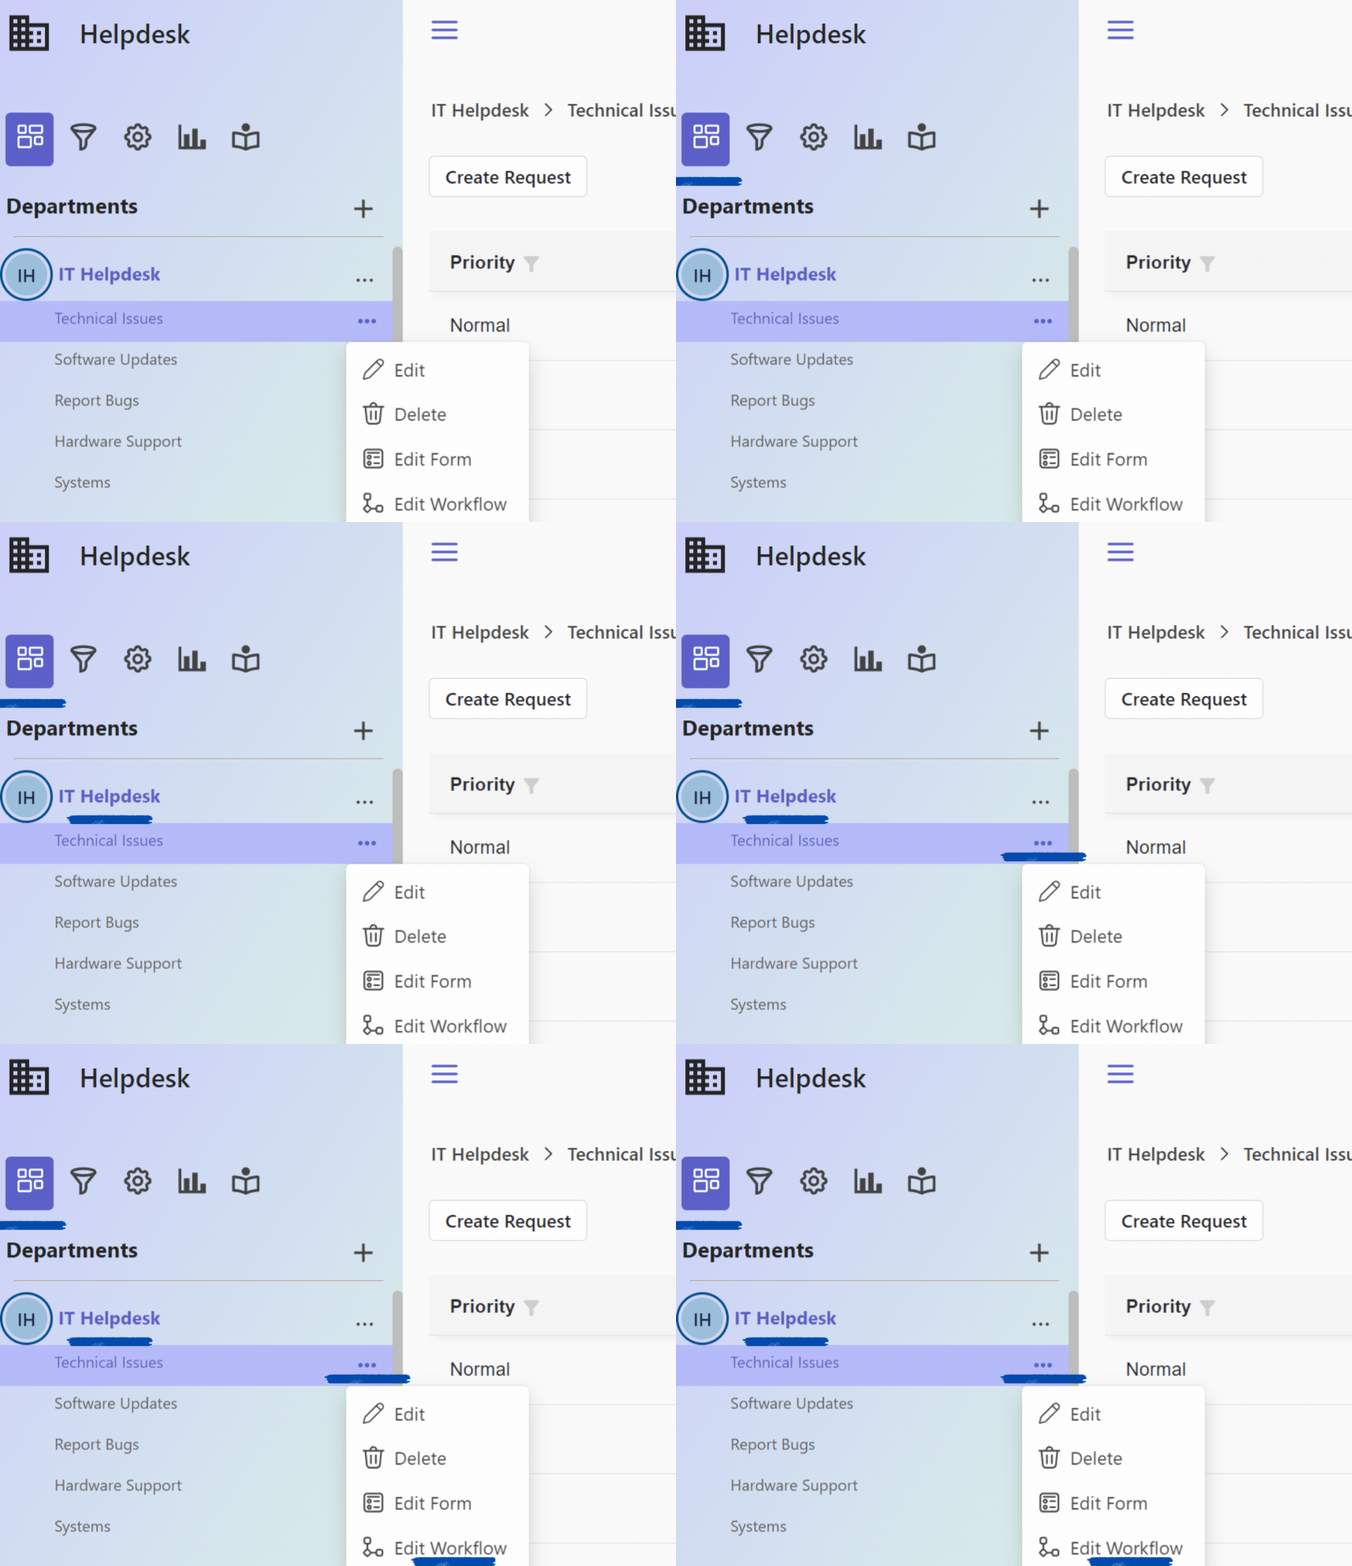
- Request Type: Navigate to Departments on the upper left corner of the screen > Select the desired department > Choose the Request Type > Click the … > Select Edit Workflow.
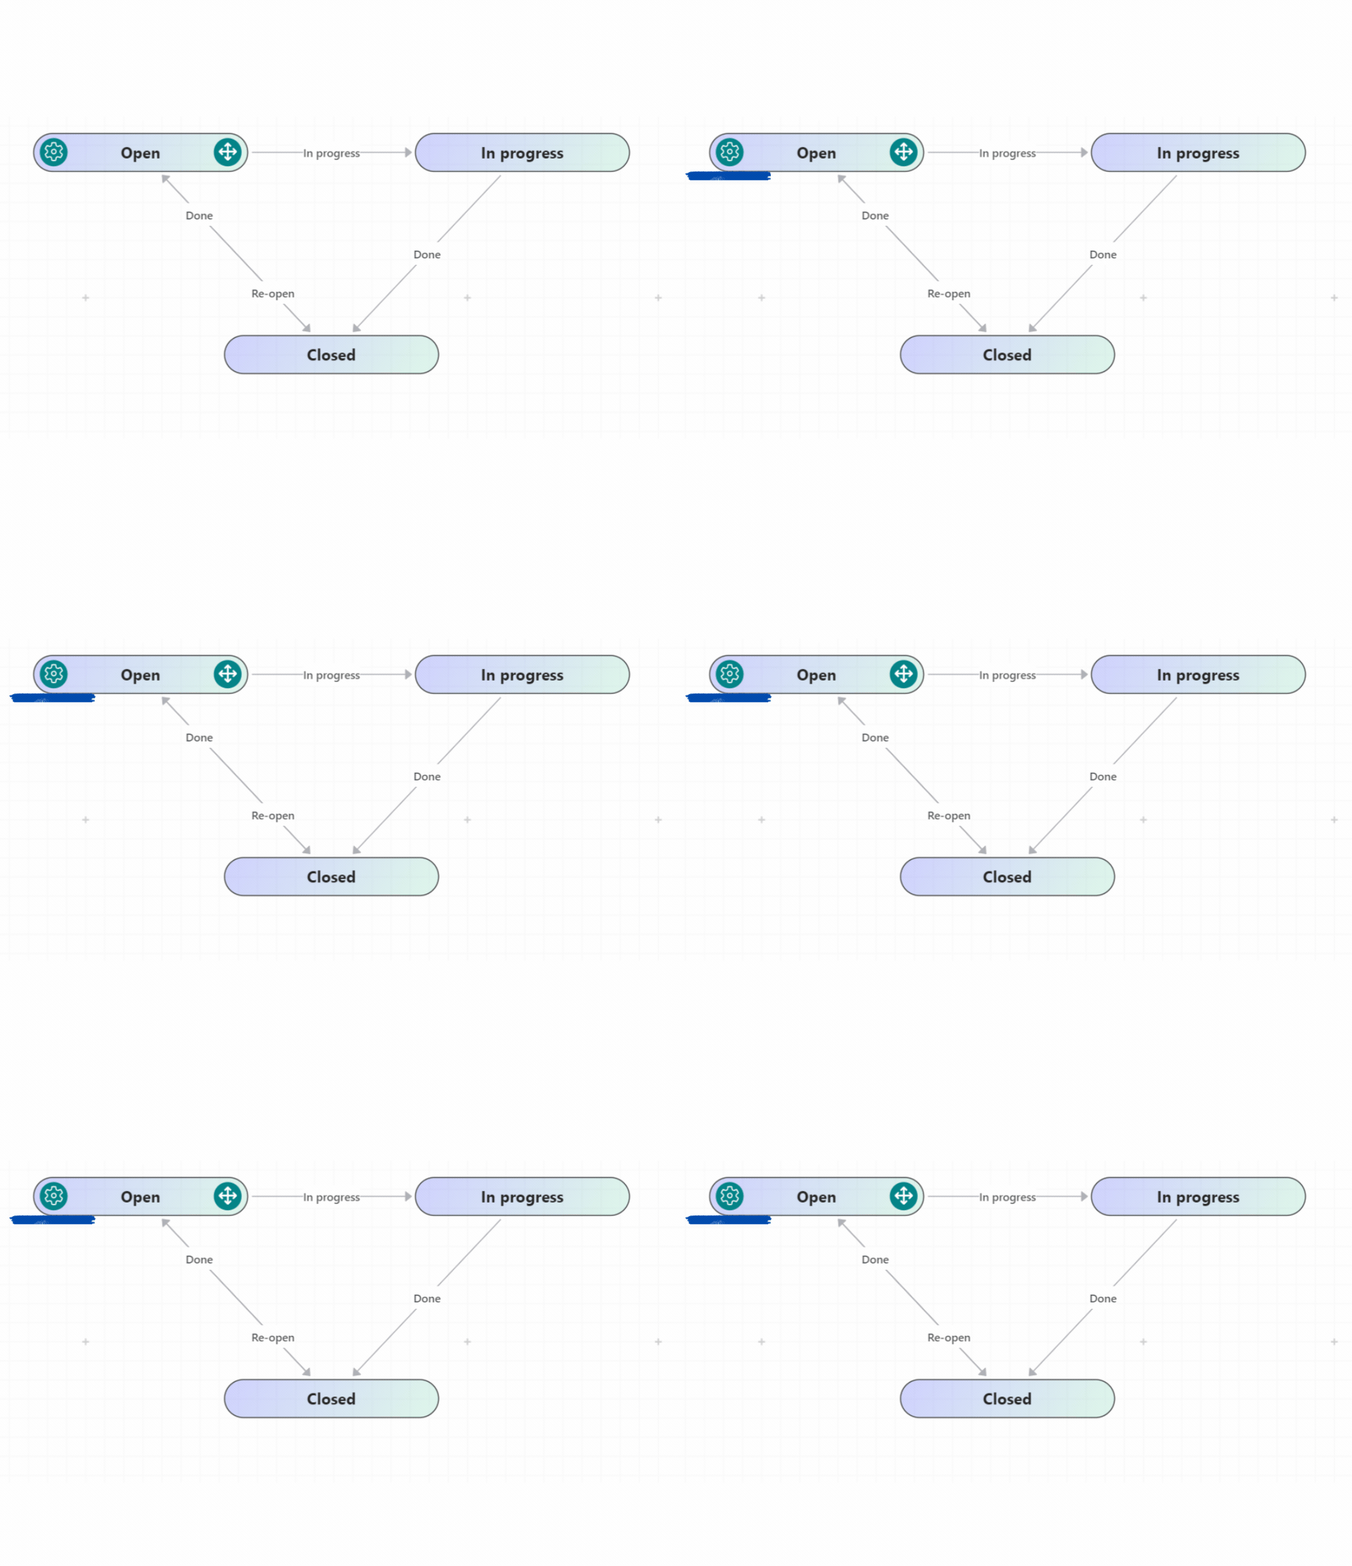
- To add escalations to a step, click on the Settings for the stage where you want to apply the SLA. Escalations can be added to any stage of the workflow.
- Select the Stage SLA tab
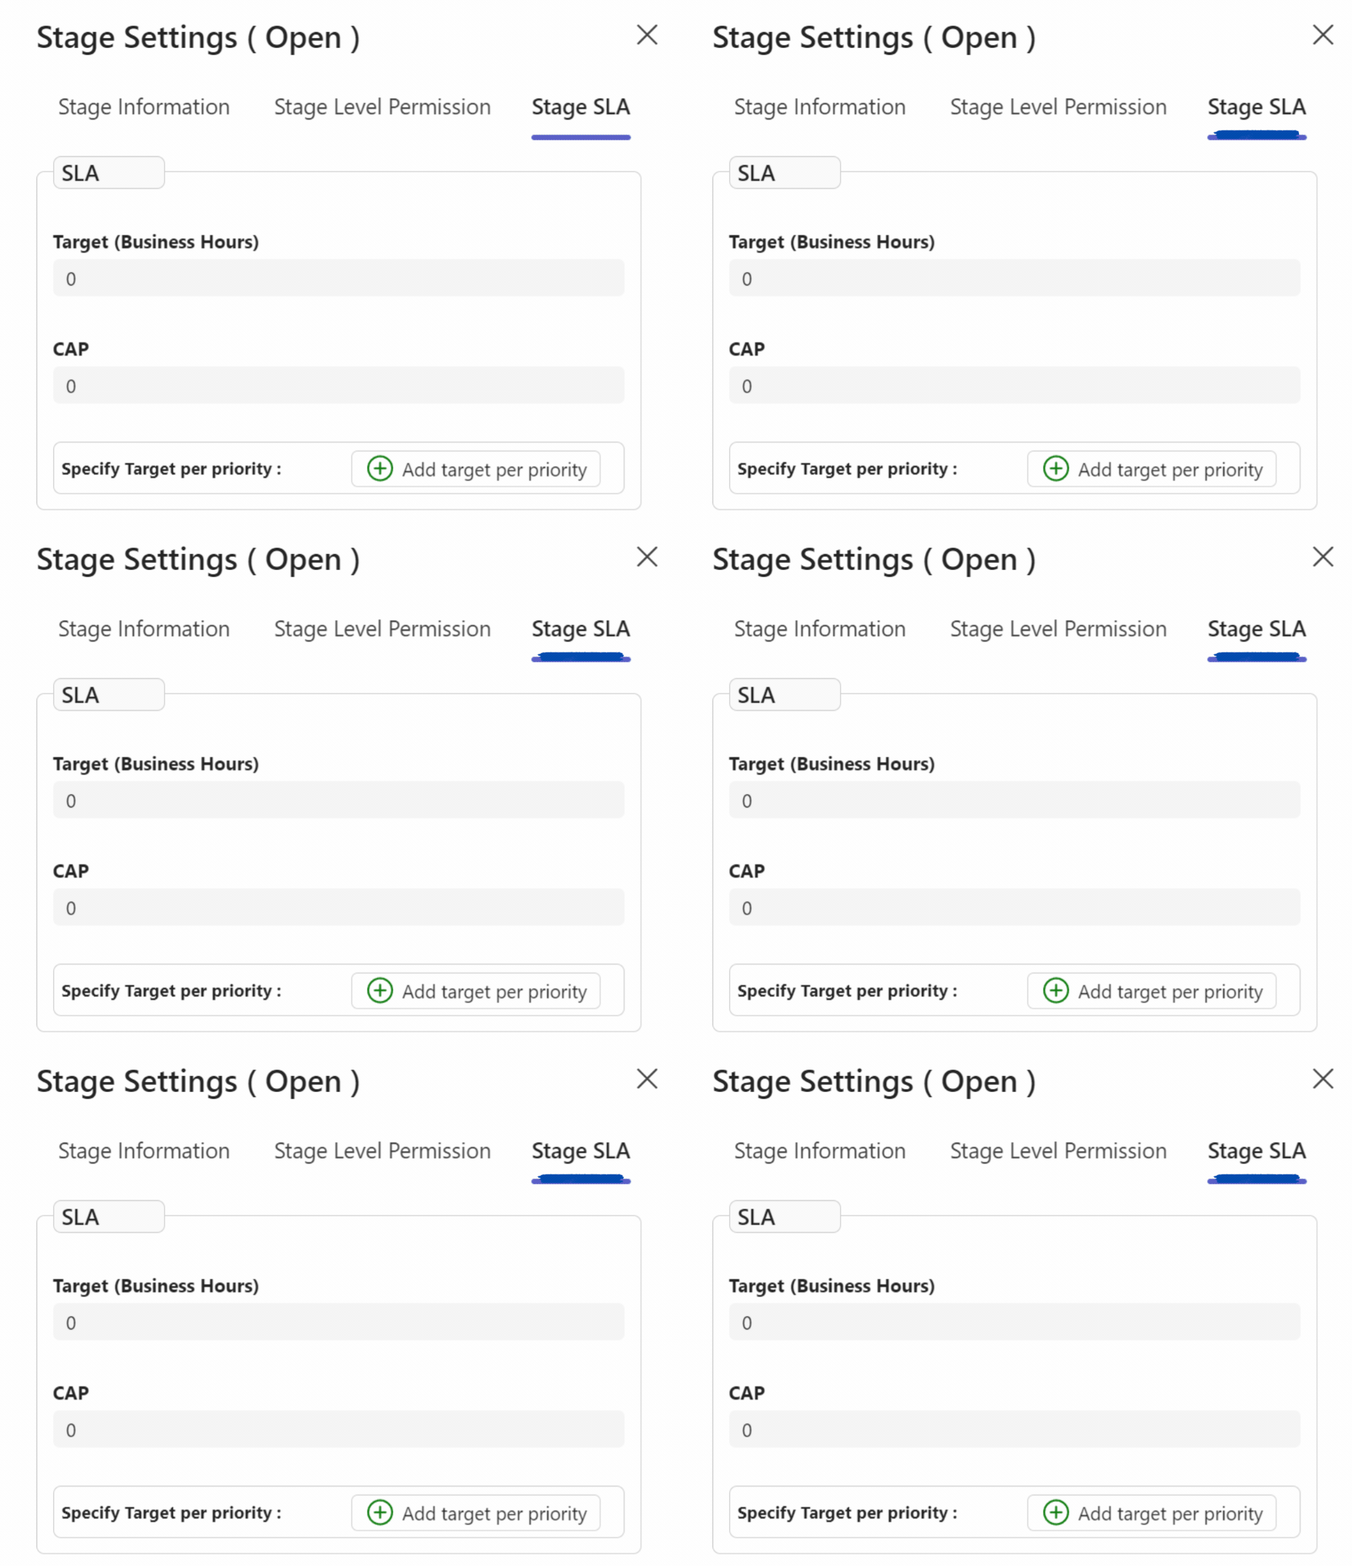
- Target (Business Hours): Specifies the number of hours before an email notification is triggered if the stage remains unchanged.
- CAP: Determines the number of times this escalation will be sent, based on your company’s hierarchy.
For example, if the target is set to 15 hours and you work 9 hours a day, the email will be sent 6 hours into the next business day if the stage remains unchanged. If the CAP is set to 2, the first email will be sent to the assignee and their manager. The next email will be sent after an additional 15 business hours, but only if the ticket hasn’t been responded to and the assignee’s manager has a manager listed in the Active Directory.
- You can choose either the default values, or add one or more specific target priorities and configure their values.
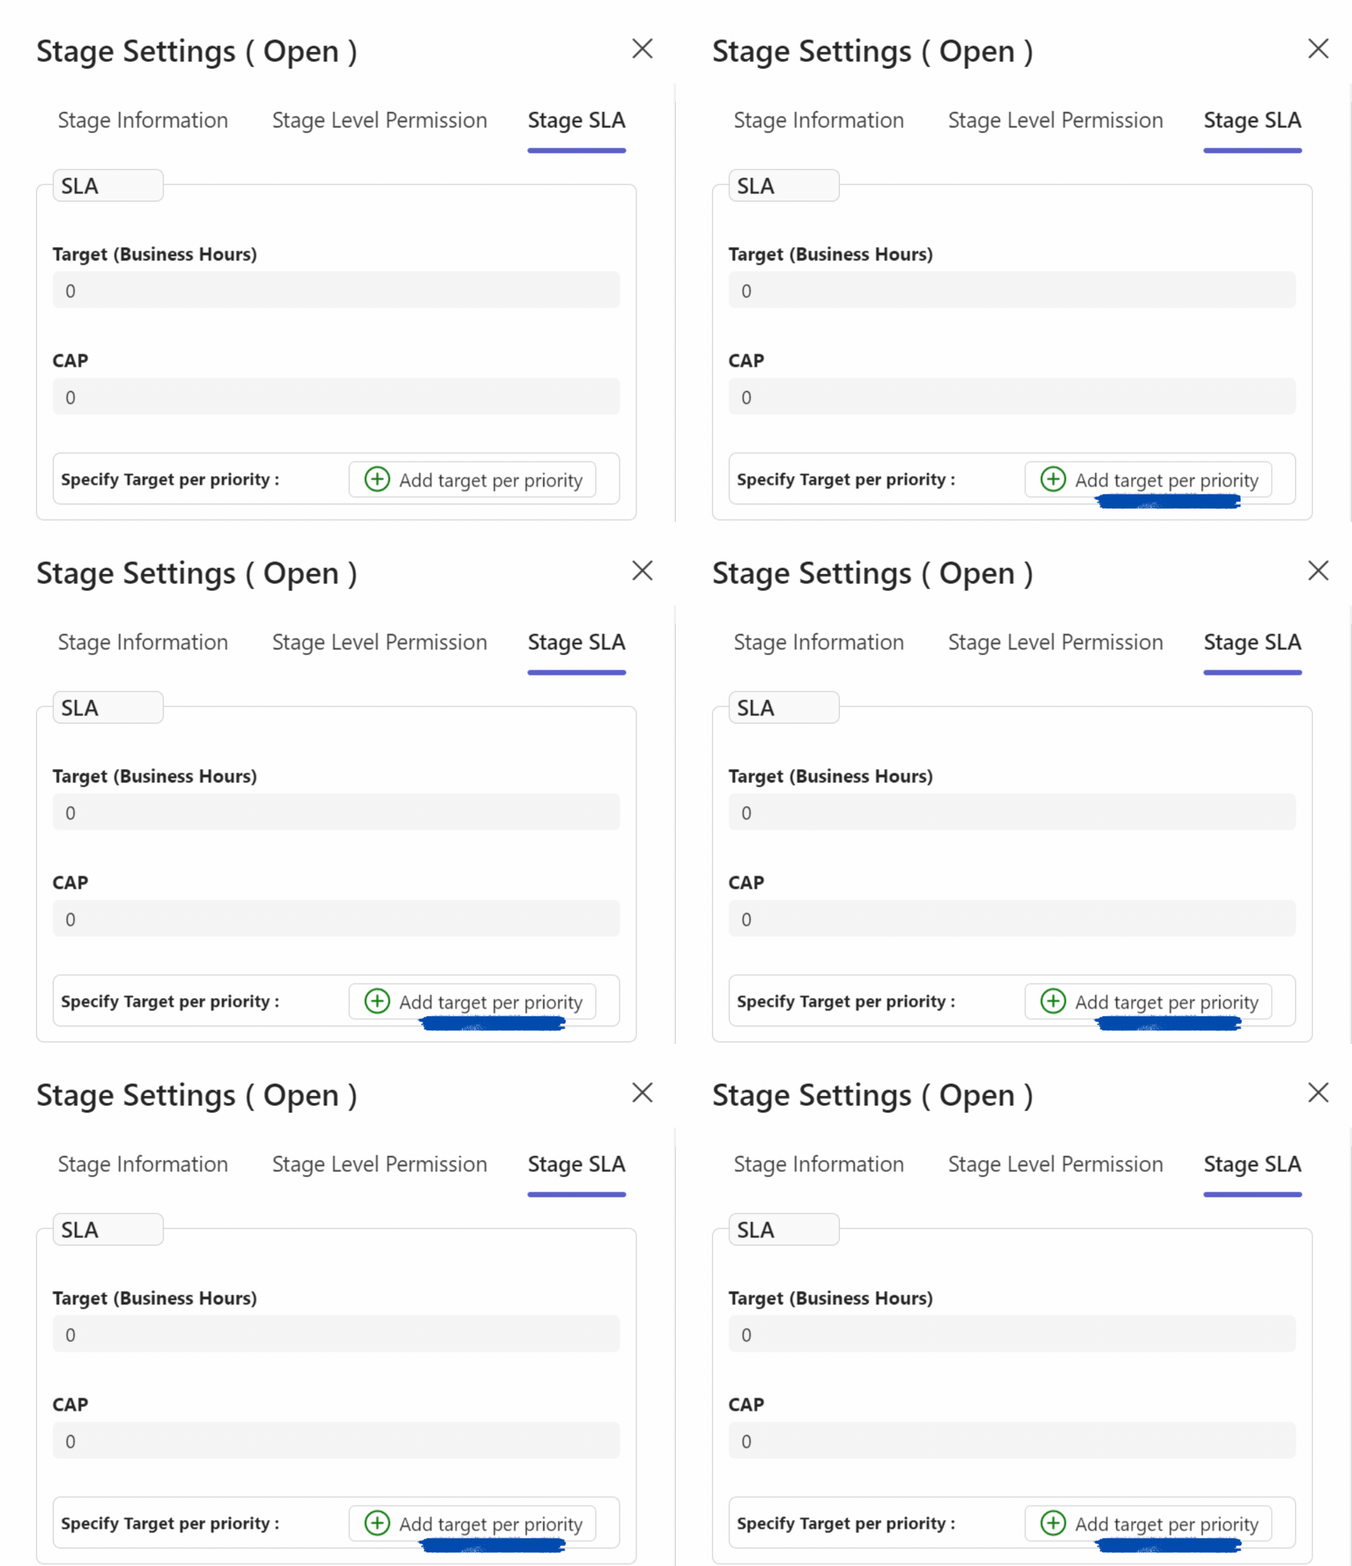
- If you want to add one or more specific target priorities, click on Add Target per Priority. Select a priority and set the corresponding target time.
