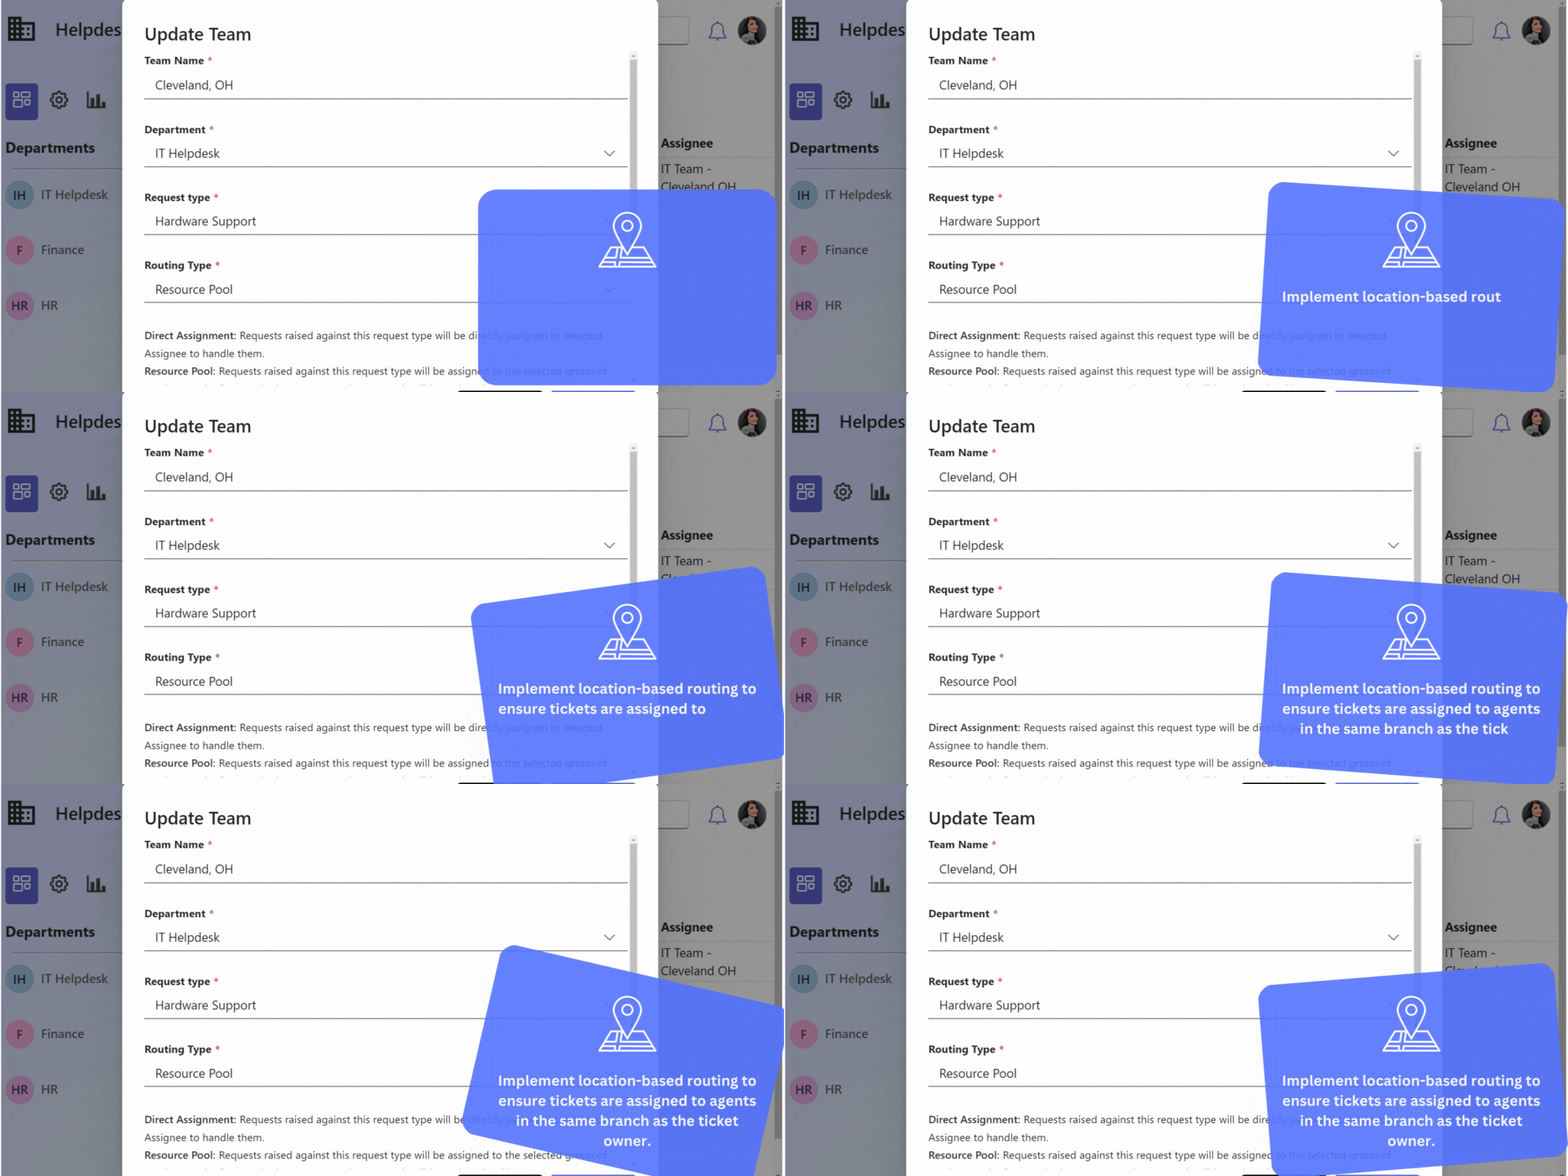
If a company has different branches and you want to assign tickets to people in the same branch as the ticket owner, then location-based routing is designed for this purpose. For example, suppose Company X has branches in various cities and countries like New York City, Chicago, and Washington D.C. With location-based routing configured, tickets are directed to agents within the same branch as the ticket owner. The system identifies the owner’s location from Active Directory. This method will only work if “Automatic Routing” in the workflow module is selected.
Assign tickets to the right team based on location .

This blog provides a detailed guide on the configuration process.
Table of Contents
Create a New Site
To get this working, the first step is to create sites in the Helpdesk based on the list of locations where your requesters are based.
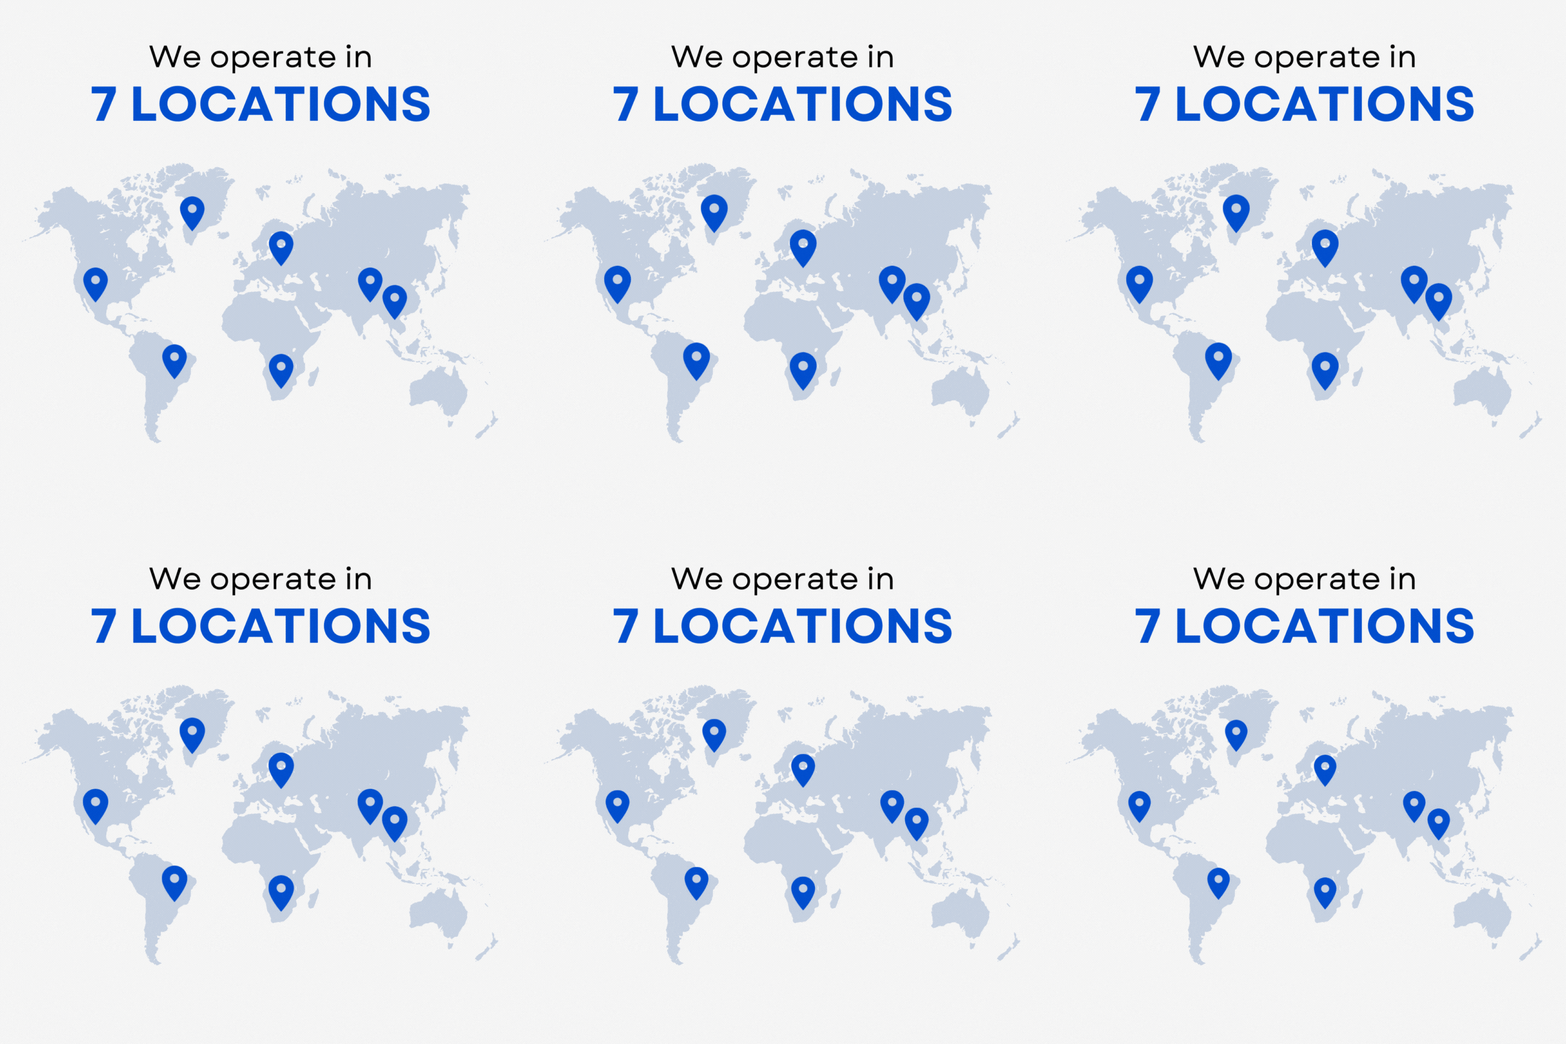
- Navigate to Settings.
- Select Data Management, and click on “Site/Locations” from the list of options.
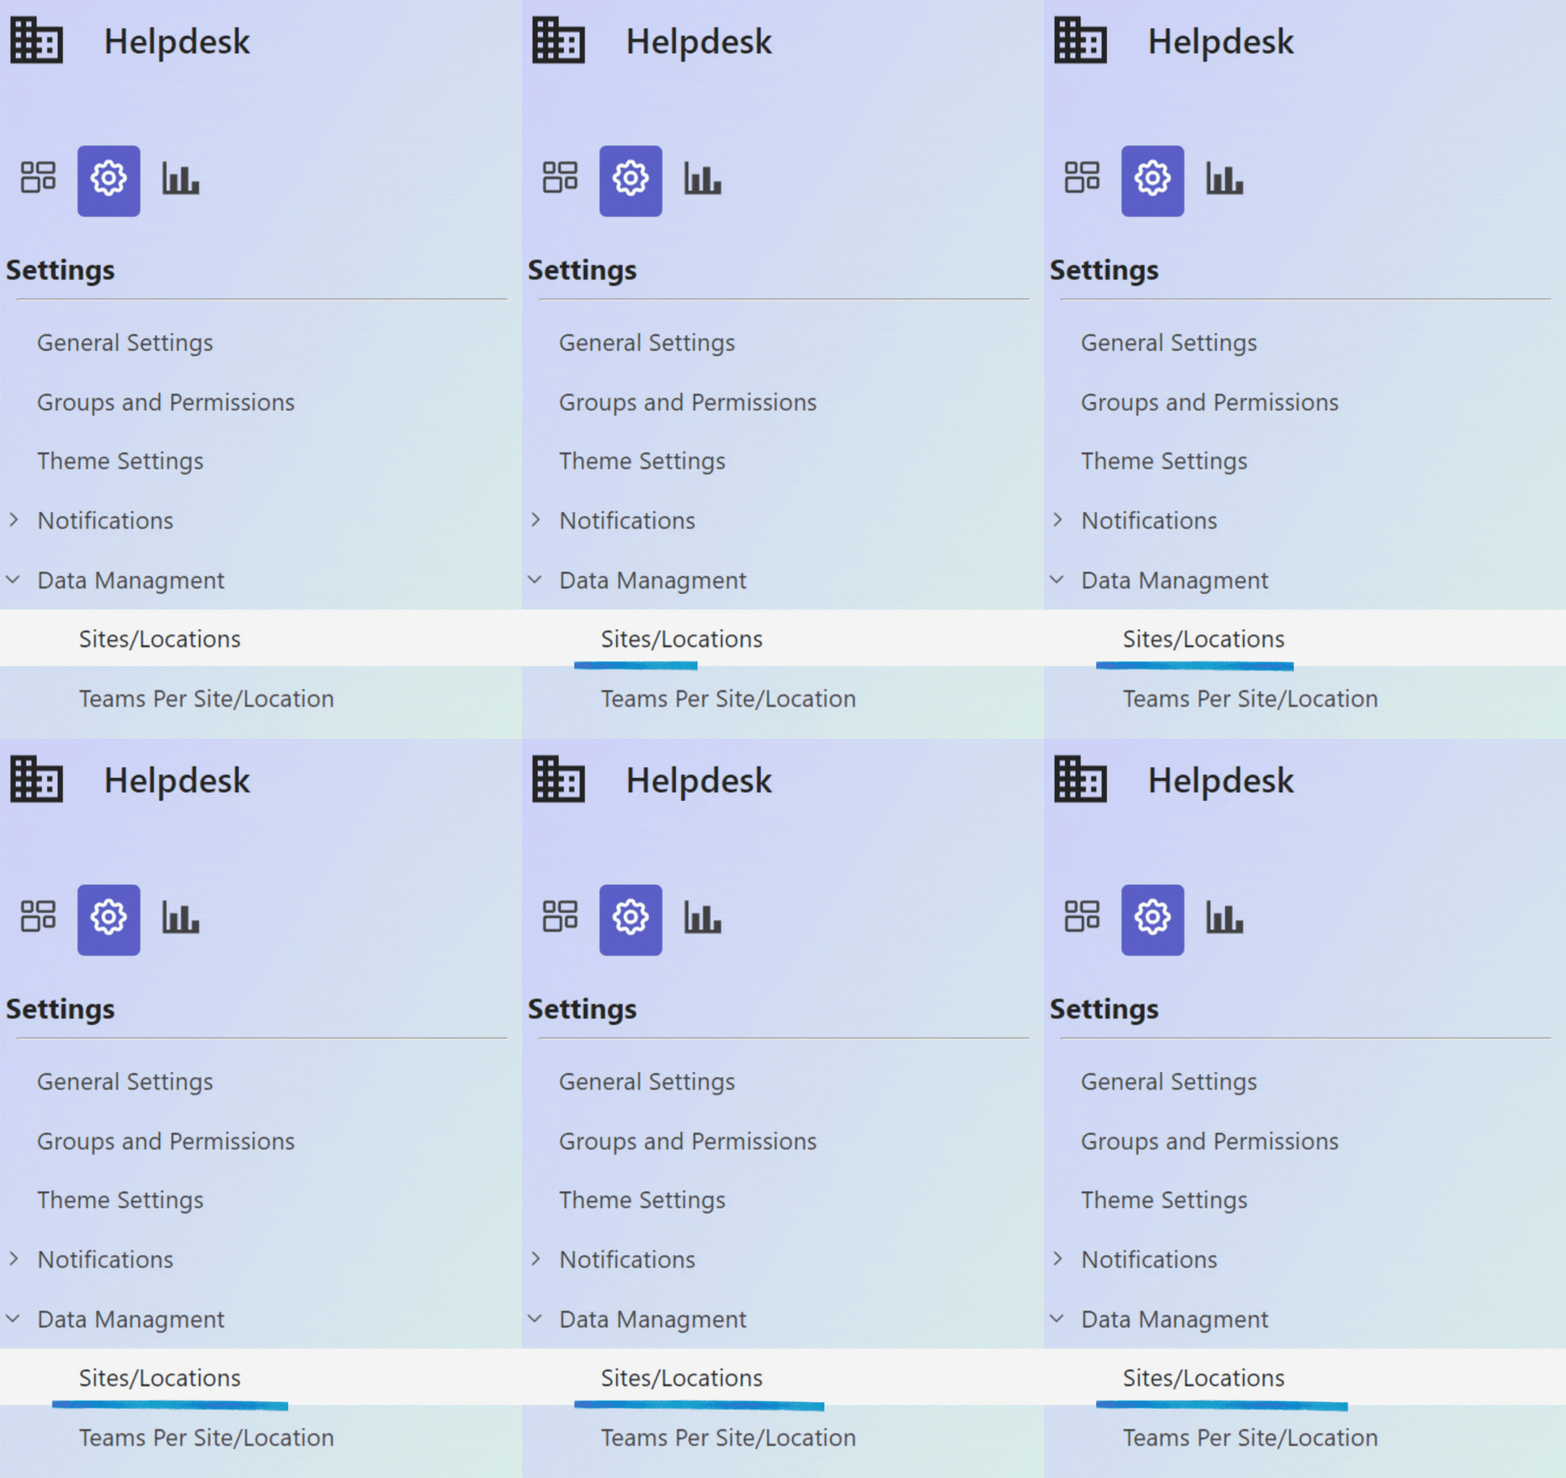
- Click on “Create a New Site“.
- Enter a name for the new site. Ensure that the name exactly matches the site in Active Directory.
Create a New Team Per Site
- Navigate to Settings.
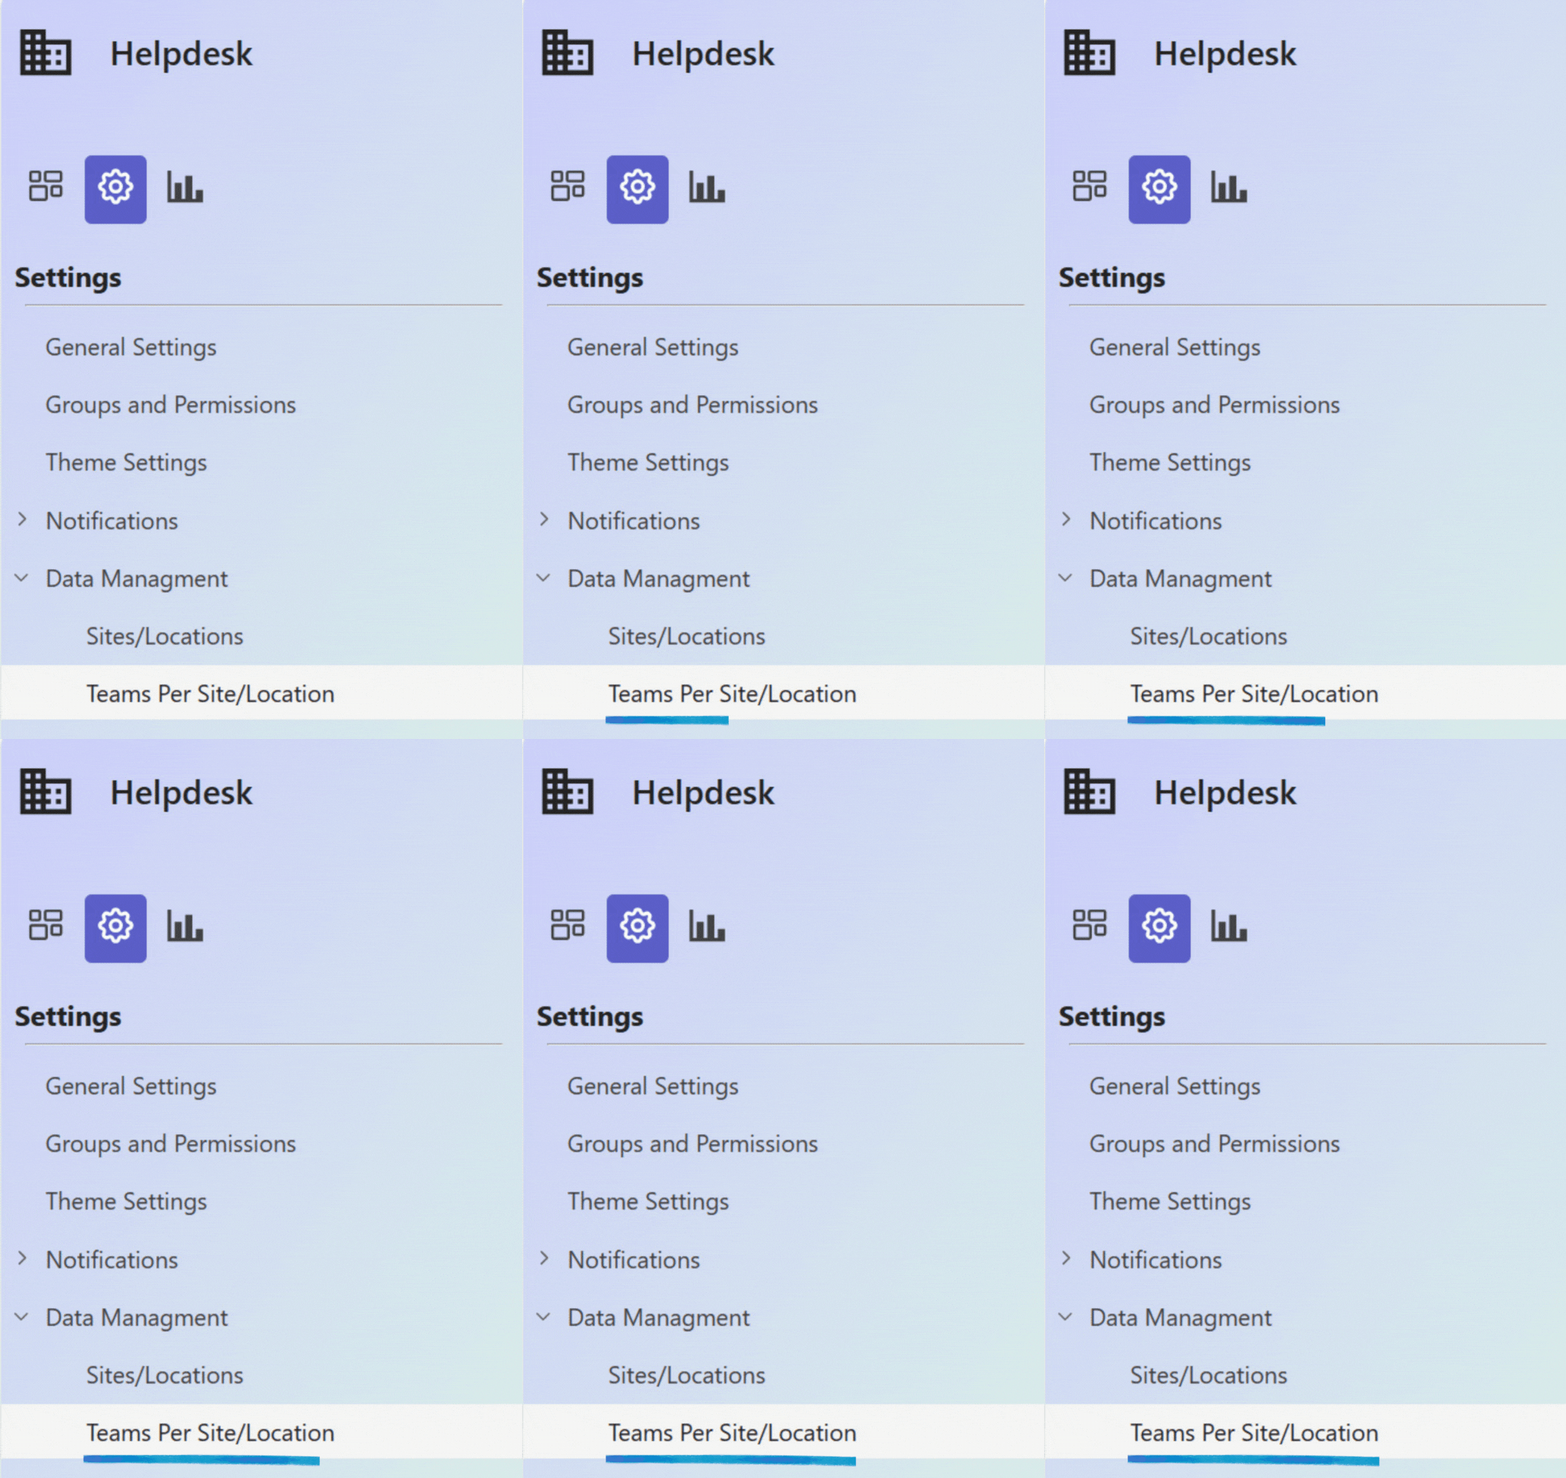
- Select Data Management, and click on “Teams Per Site/Location” from the list of options.
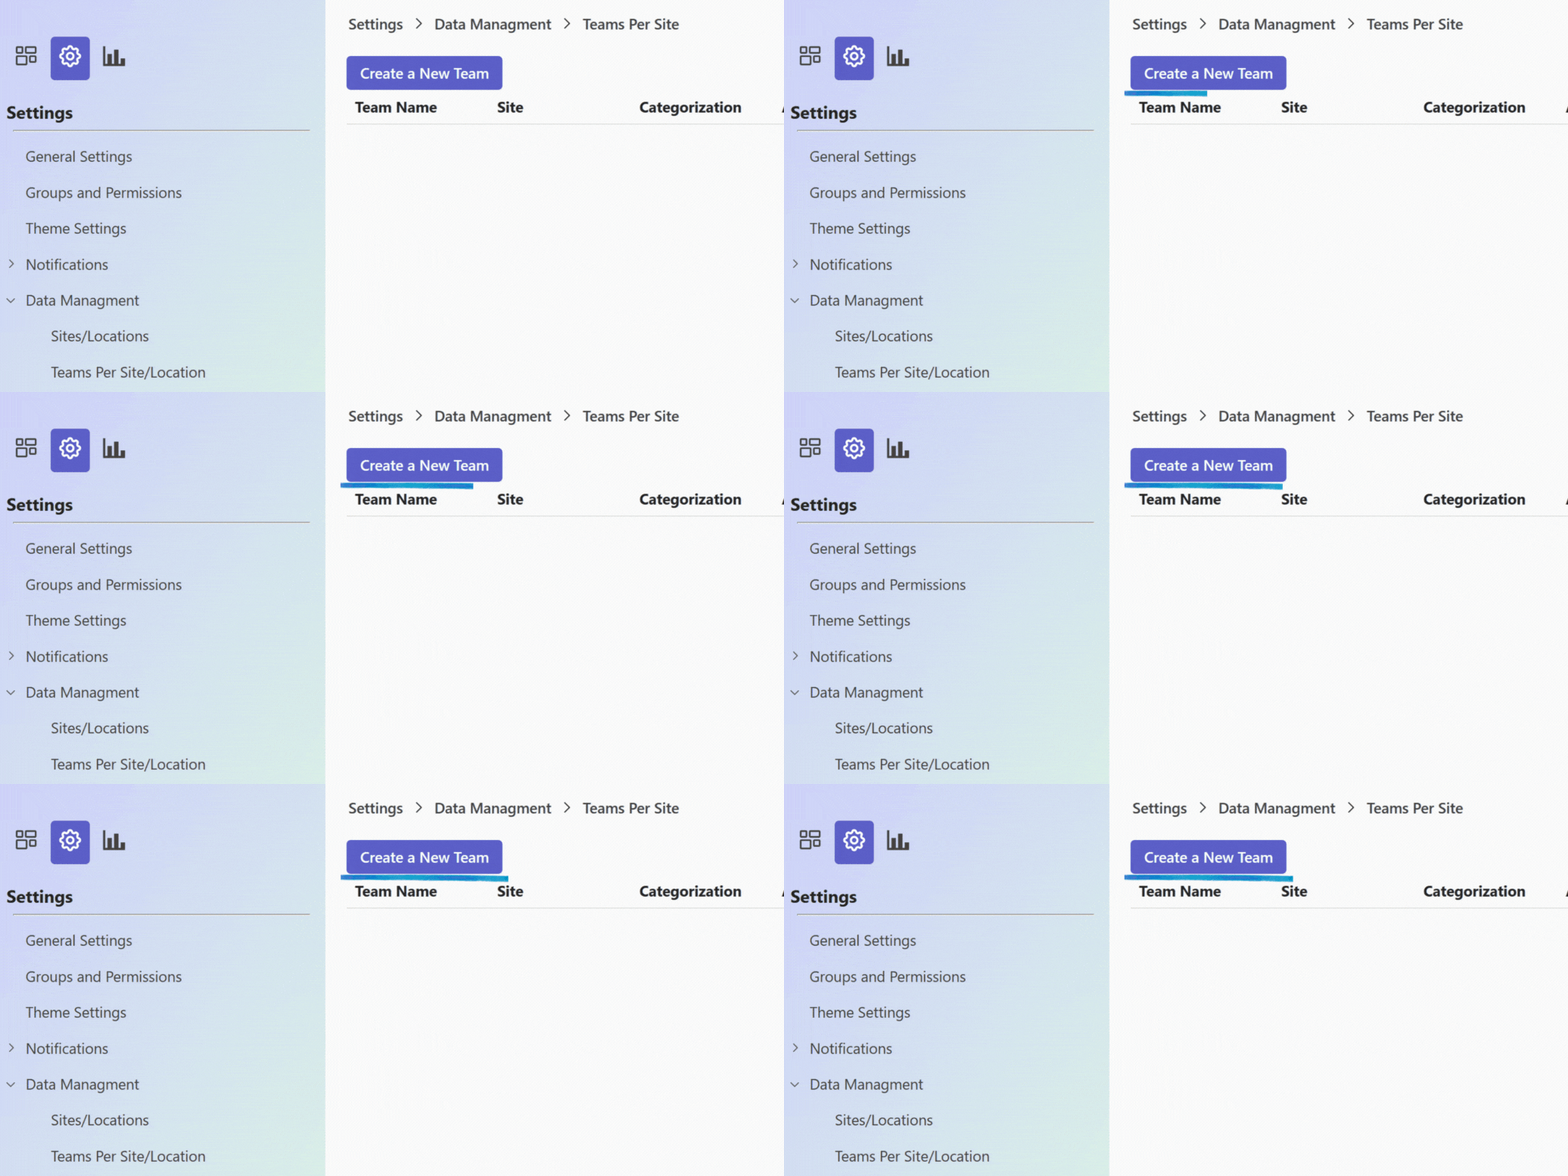
- Click on “Create a New Team“.
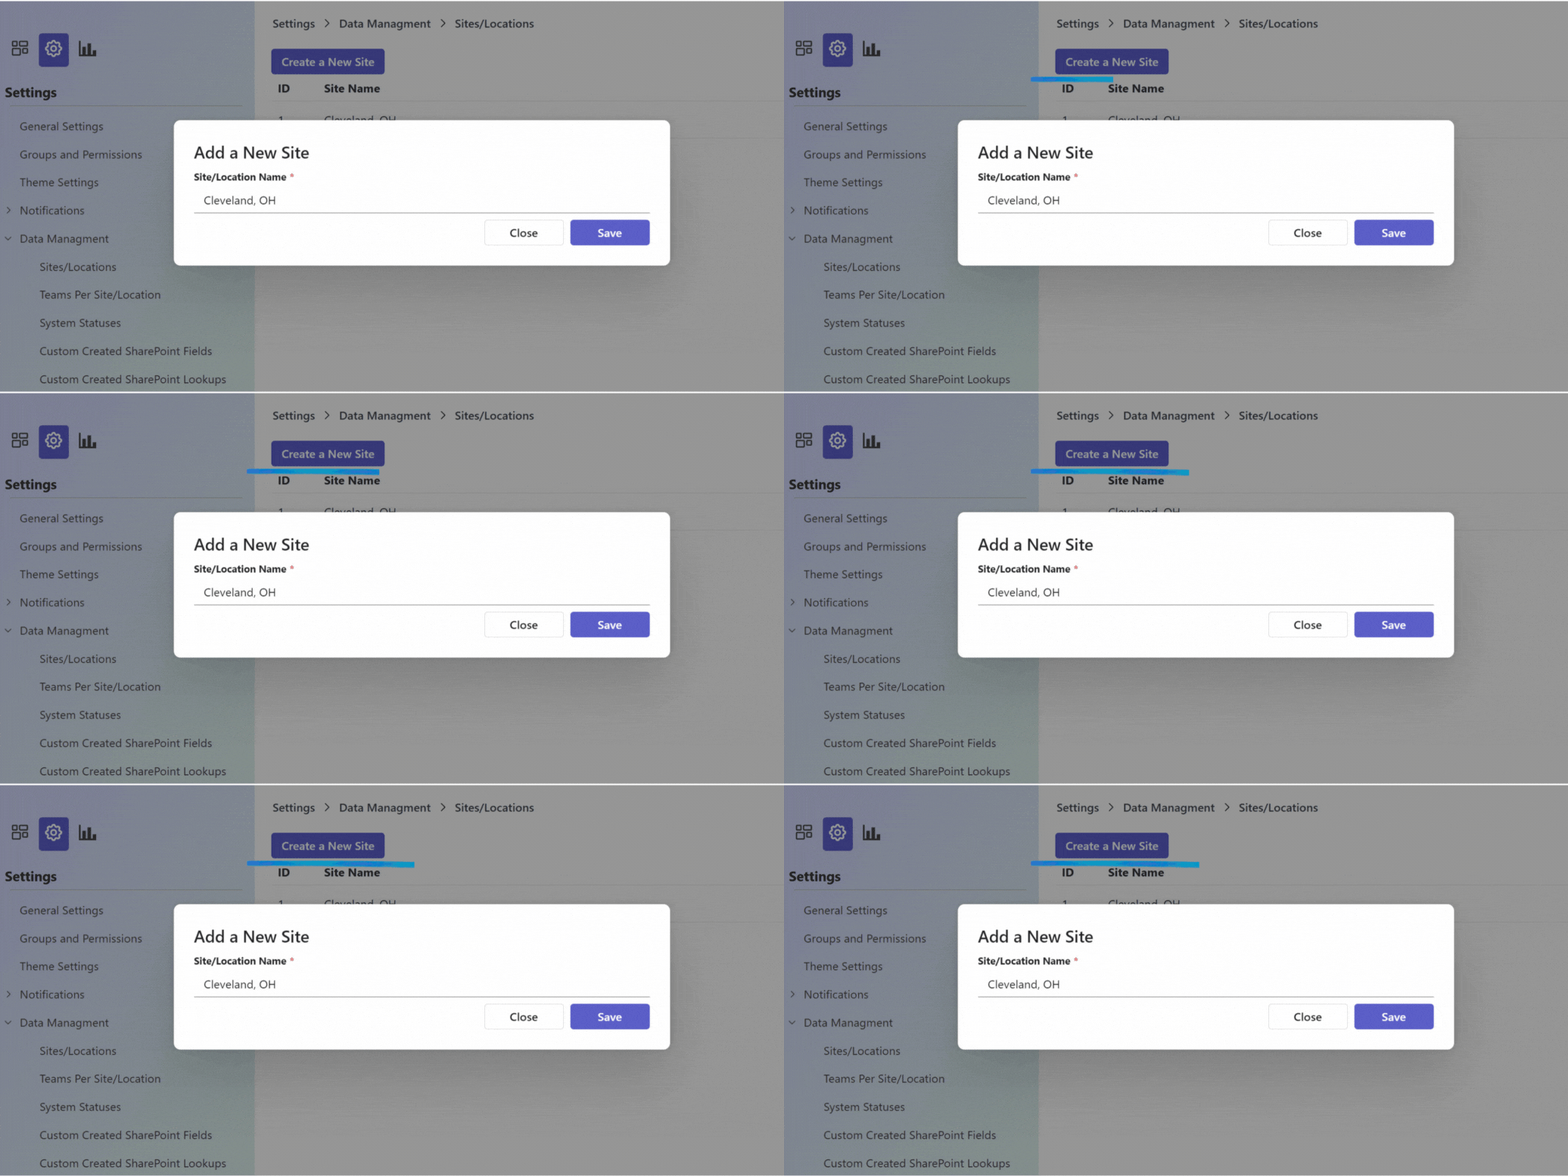
- Enter the team name and select the department and request type in which the team is responsible for handling tickets. Choose the desired routing type; there are two options: Direct Assignment and Resource Pool.
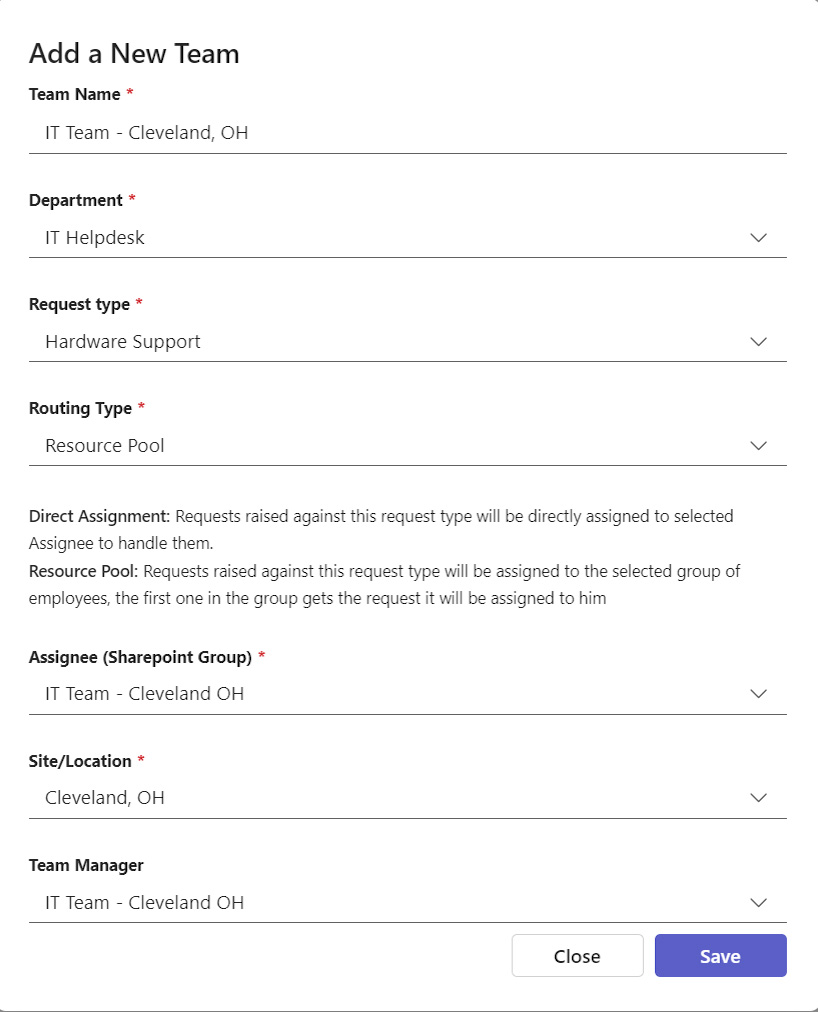
- Direct Assignment: If selected, the user specified in the “Assignee” field will handle all tickets raised at this site/location.
- Resource Pool: If selected, the group specified as the assignee will handle the tickets. All group members will be notified, and one of them can claim the ticket.
The admin should also select the site where the team is responsible for handling tickets and specify the team manager.
Note: If you want to assign a team to handle tickets for a specific location (e.g., Cleveland, OH), and another team to handle tickets for all other locations (including requests from users without a specified location), use the “all locations” value in the “Site/location” field in the image above. This way, when a new request is opened, if the request owner’s site is not Cleveland, OH, the ticket will be routed to the team responsible for all locations except Cleveland, OH.
Configure Workflow Settings
- Select the department icon.
- Navigate to the request type. Click on the three ellipses (…) and choose “Edit Workflow“.
- Ensure that the assignee in the first stage is set to “Automatic Routing“.
After creating a new ticket, the system will automatically recognize your department/team’s location.
