A powerful SharePoint helpdesk app like SteadyPoint allows users to fully customize ticket views, offering flexibility to meet the unique needs of both teams and individuals. With this SharePoint-based helpdesk software, you can choose which columns to display, rename them, and rearrange their order—making it easier to organize, track, and manage requests all from a single interface.
Table of Contents
Creating a Customized Interface View in the SharePoint Helpdesk App
With SteadyPoint’s SharePoint helpdesk software, system admins can use the Edit This View feature to tailor the interface view for Departments and Request Types. Whether using default or custom fields, this Office 365 helpdesk tool makes it easy to add, remove, and organize columns to match your organization’s unique workflows.
👉 See It Your Way – Book a Free Demo to Learn How to Customize Views in SteadyPoint SharePoint Helpdesk.
In the following sections, the process of each is explained in detail.
Custom Department Views in SteadyPoint SharePoint Helpdesk App
- Go to the Departments on the upper left corner of the screen > Select the required Department > Hit the Edit this view button.

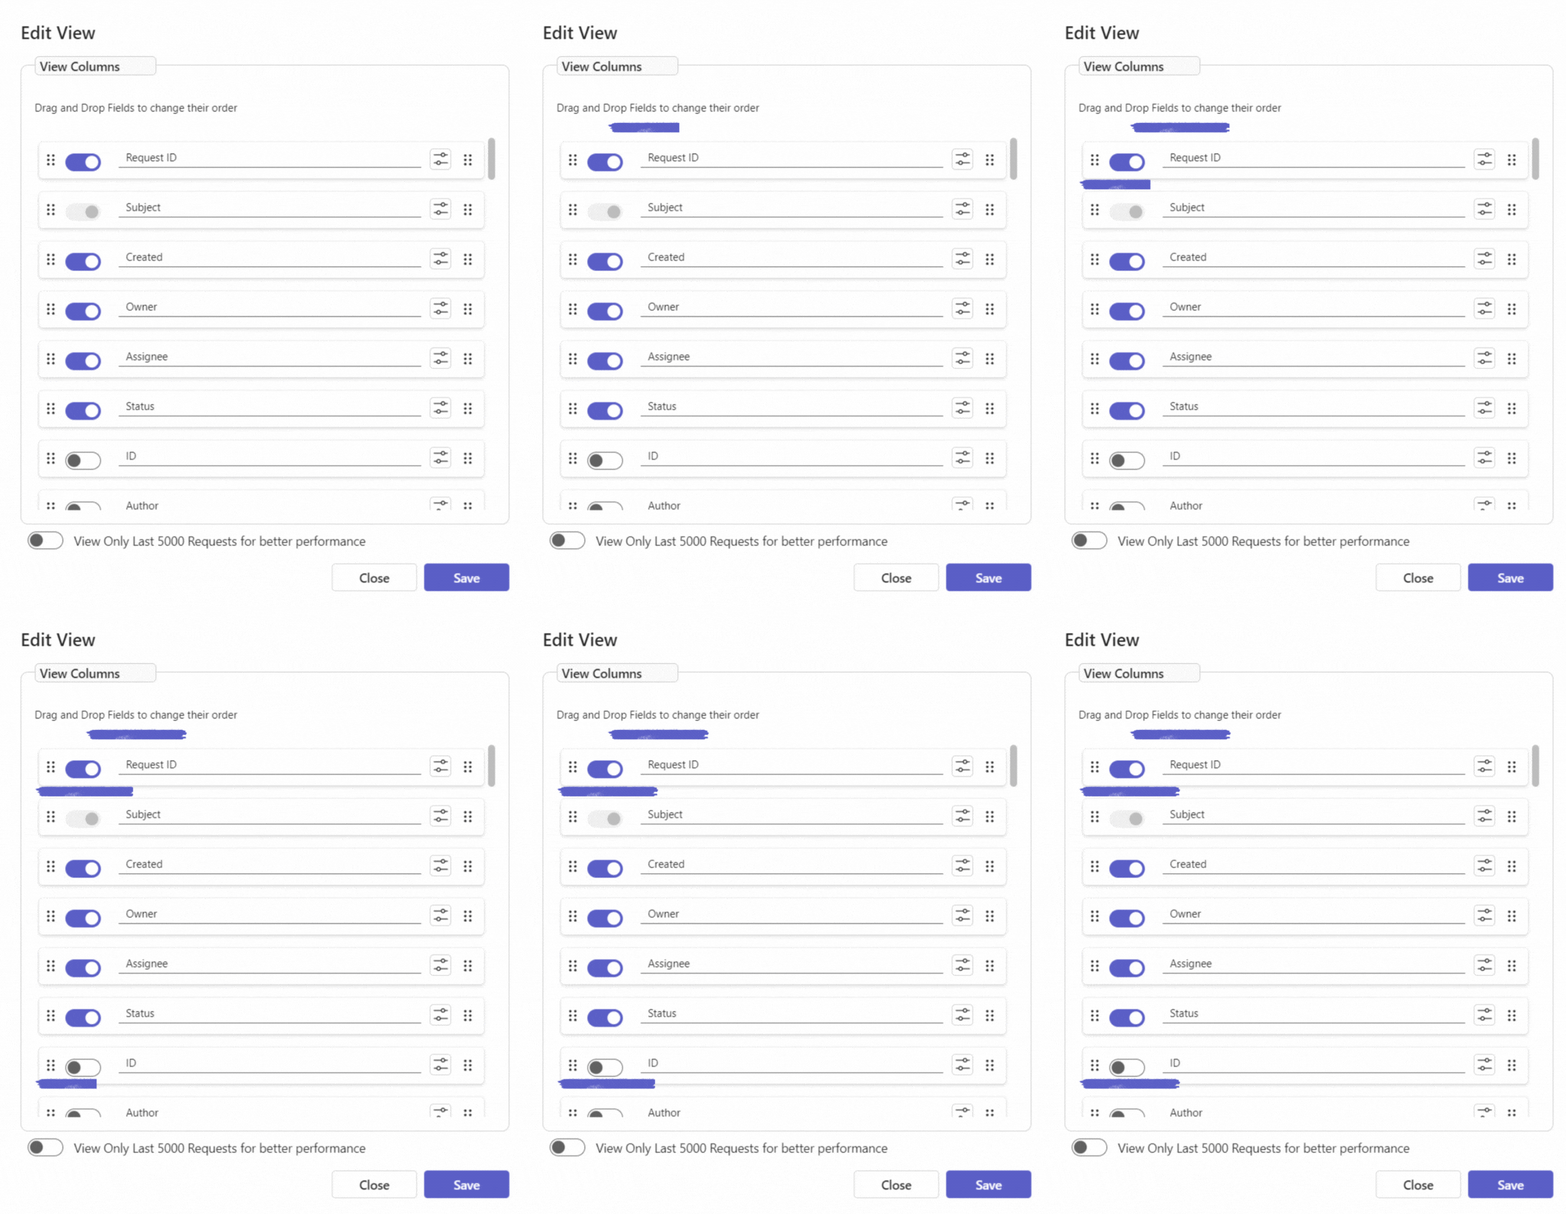
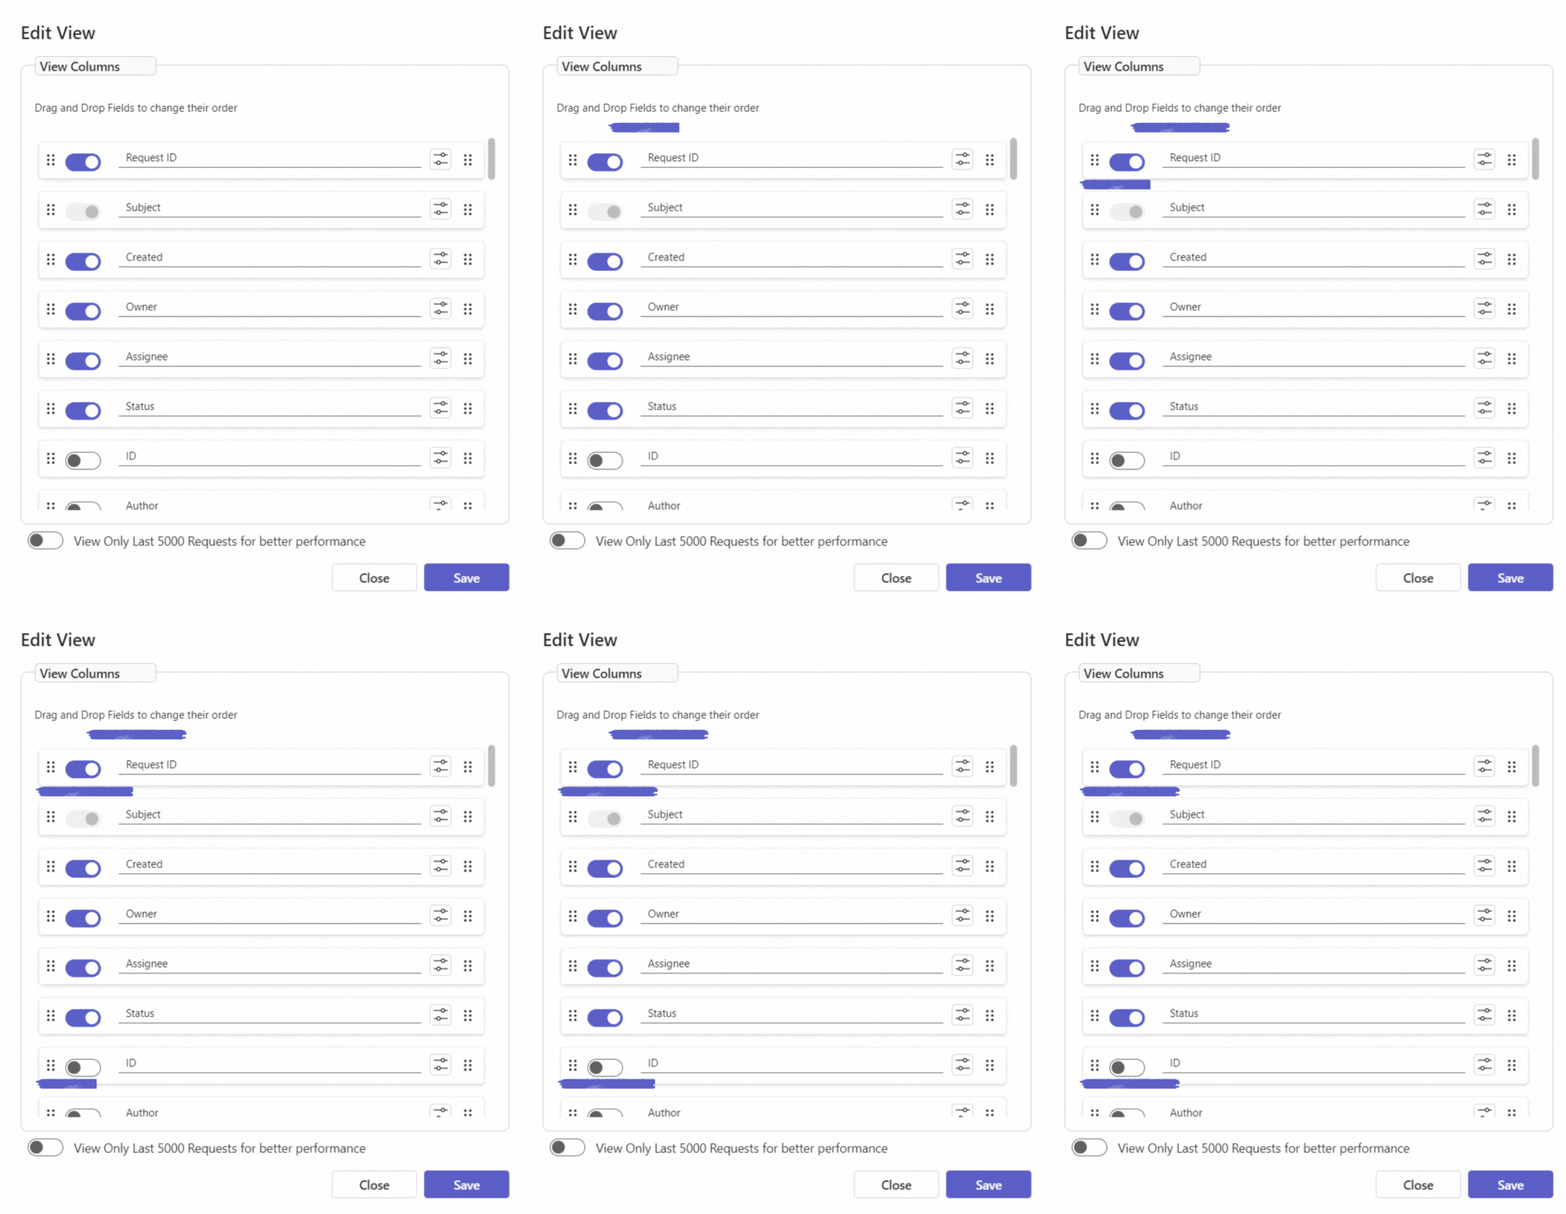
- Users can select which columns to show in the view, and drag and drop for reordering.

And voila, the view is created!
Custom Request Type Views in SteadyPoint SharePoint Helpdesk App
- Go to the Departments on the upper left corner of the screen > Select the required Department > Select the required Request Type > Hit the Edit this view button.

- Fortunately, users have the same flexibility they have in department. In other words, they can select which columns to show, and drag and drop for reordering.

Here we are!
System admins using SharePoint-based helpdesk software can easily rename columns in their customized views. Within the SharePoint helpdesk app, simply go to Edit this view, click on the column name, and update it—changes are instantly reflected in the user interface.